I am so excited to share three more recipes from Shauna Niequist's memoir/cookbook, Bread & Wine! They are all gluten-free too and delicious! :)
On my last post, I mentioned that I felt a little like Julie from the movie, Julie and Julia. She blogged through one of Julia Child's cookbooks. I don't know if I'm that brave...yet! I remembering renting it around Christmastime the same year it was in theaters. Really cute movie about cooking! For fun, I'm sharing the movie trailer here!
FLOURLESS BROWNIES
Wow, these brownies are amazing! They're pretty rich, but everything in moderation, right? (I did go for a run around Green Lake after making these).
These sweet treats would be great to bring to a potluck or make for dessert for a dinner party.
First, I ground up almonds in a food processor to make almond meal, which will act like the flour substitute in this recipe. (Good rule of thumb - To make one 1 cup of almond meal, cover the bottom of the food processor with a single layer of whole almonds).

This is what it should look like after processing for a couple pulses in the Cuisinart:

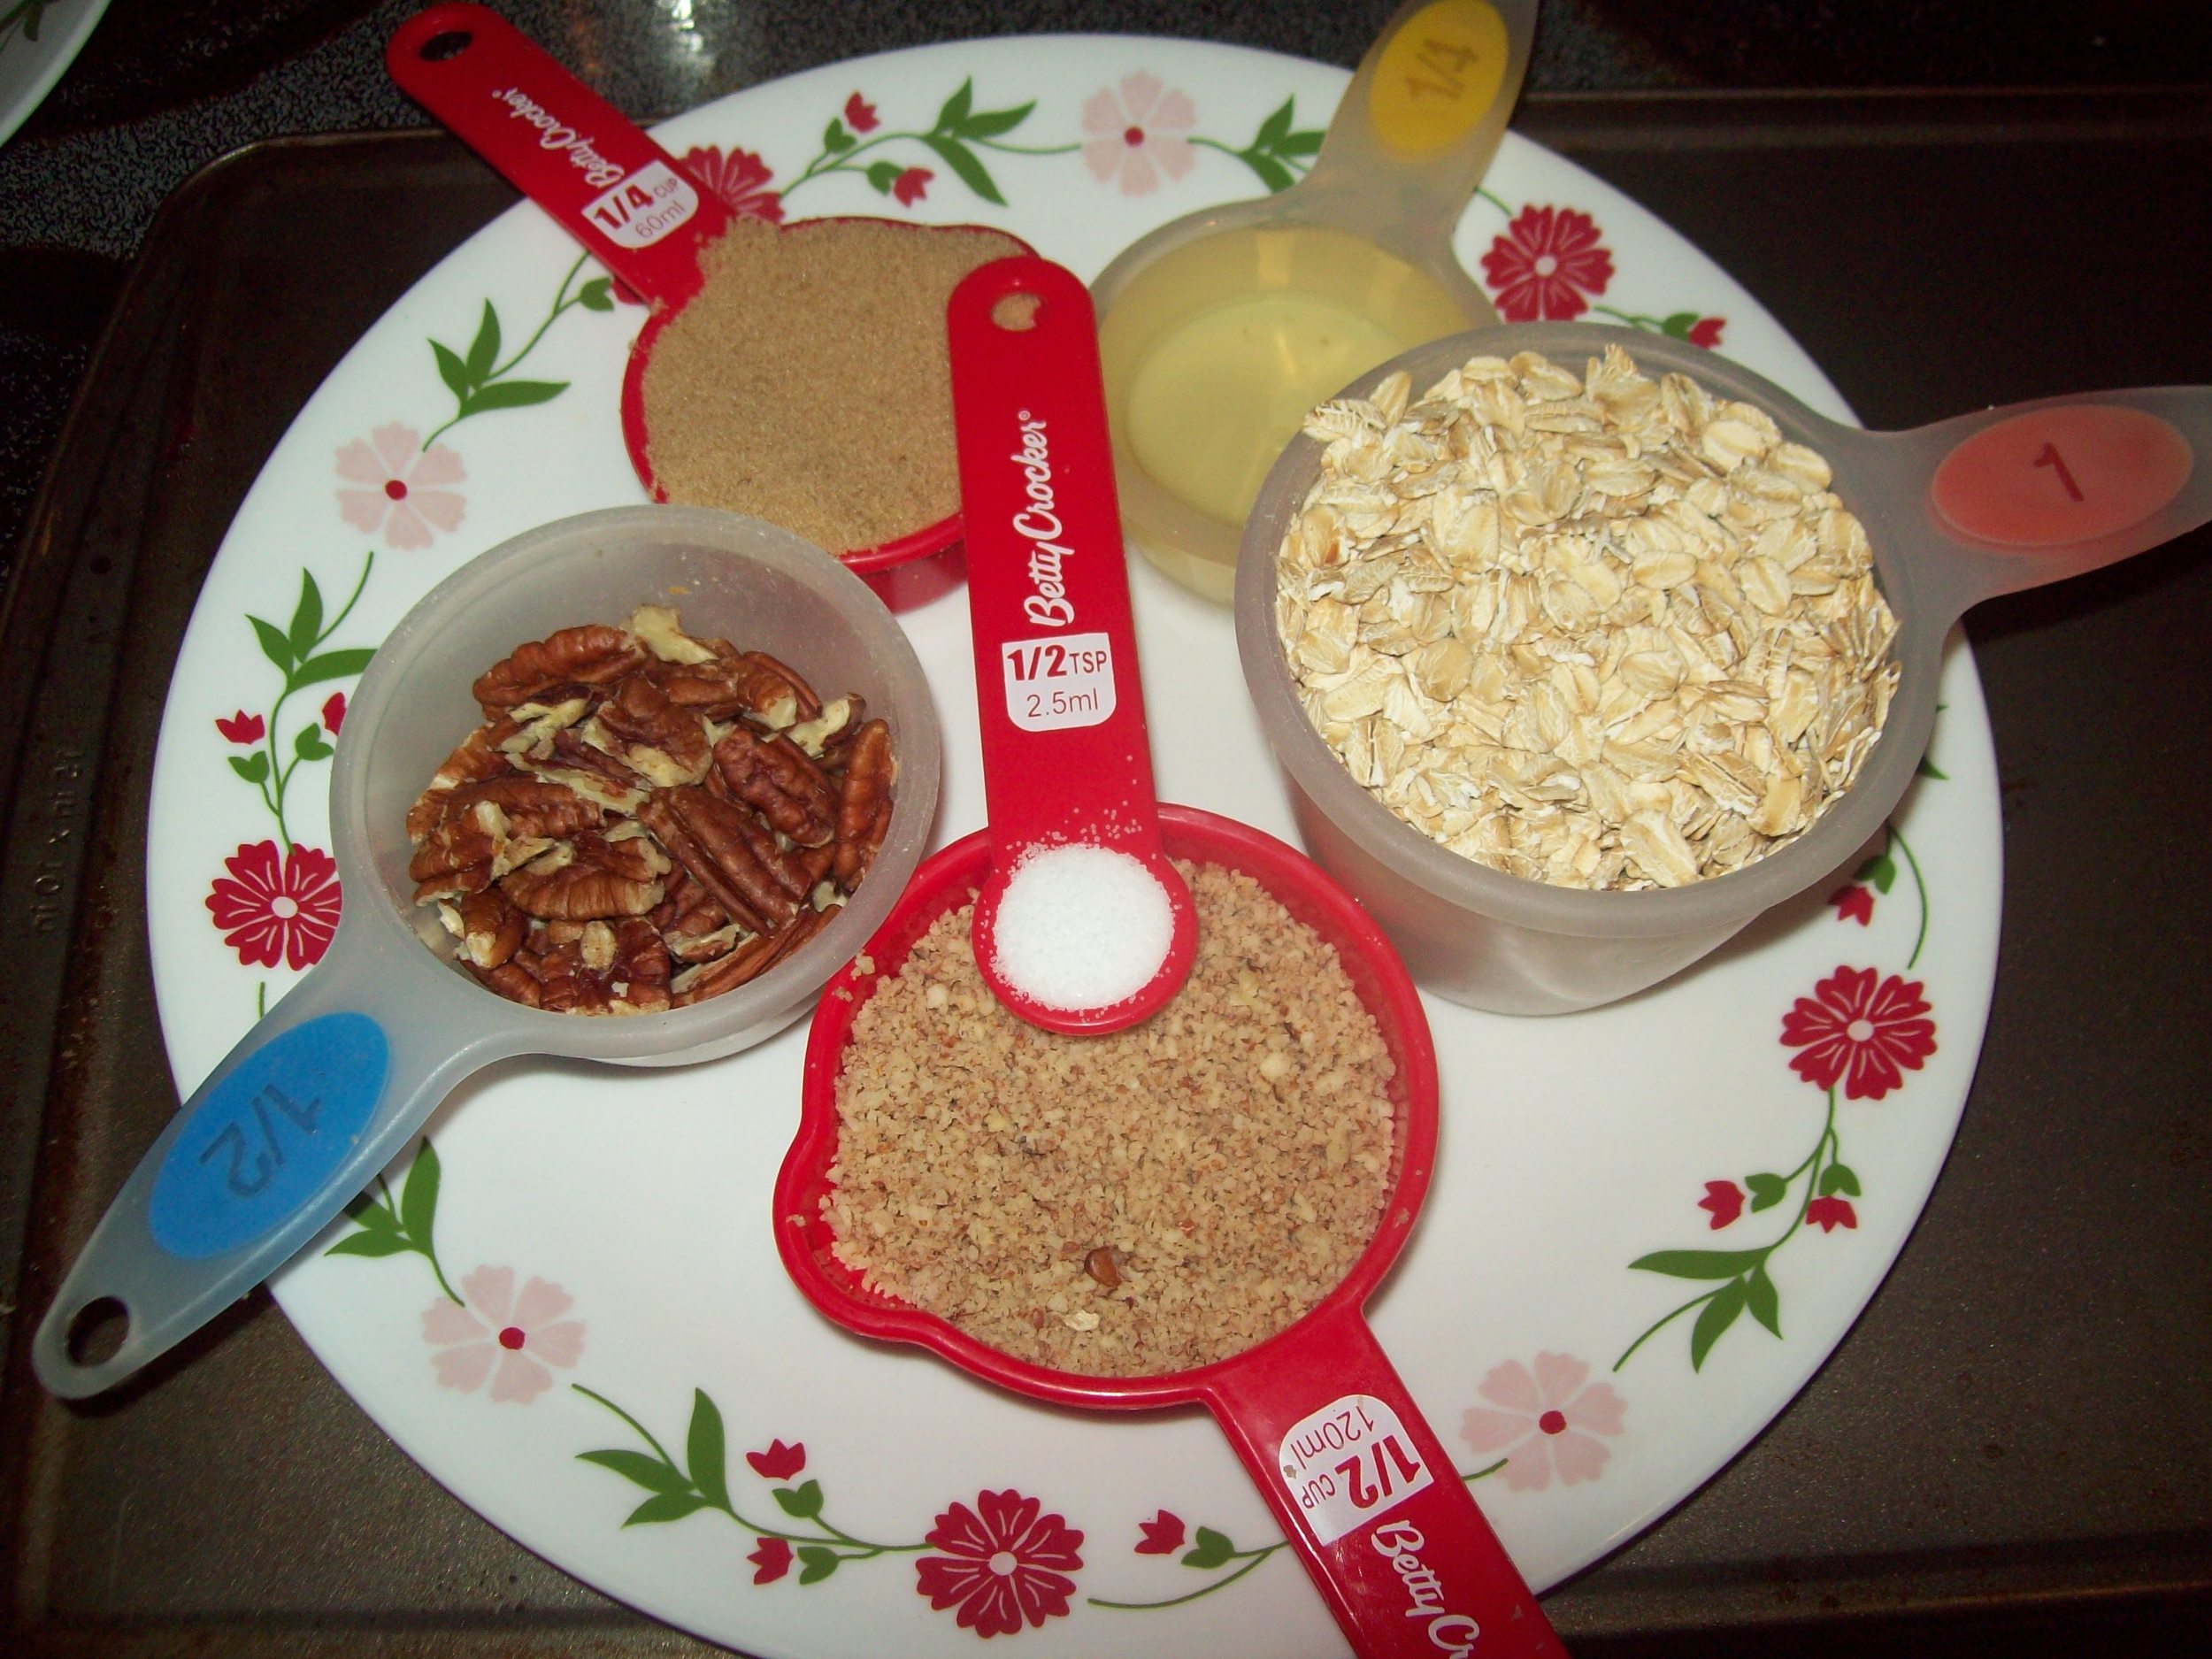
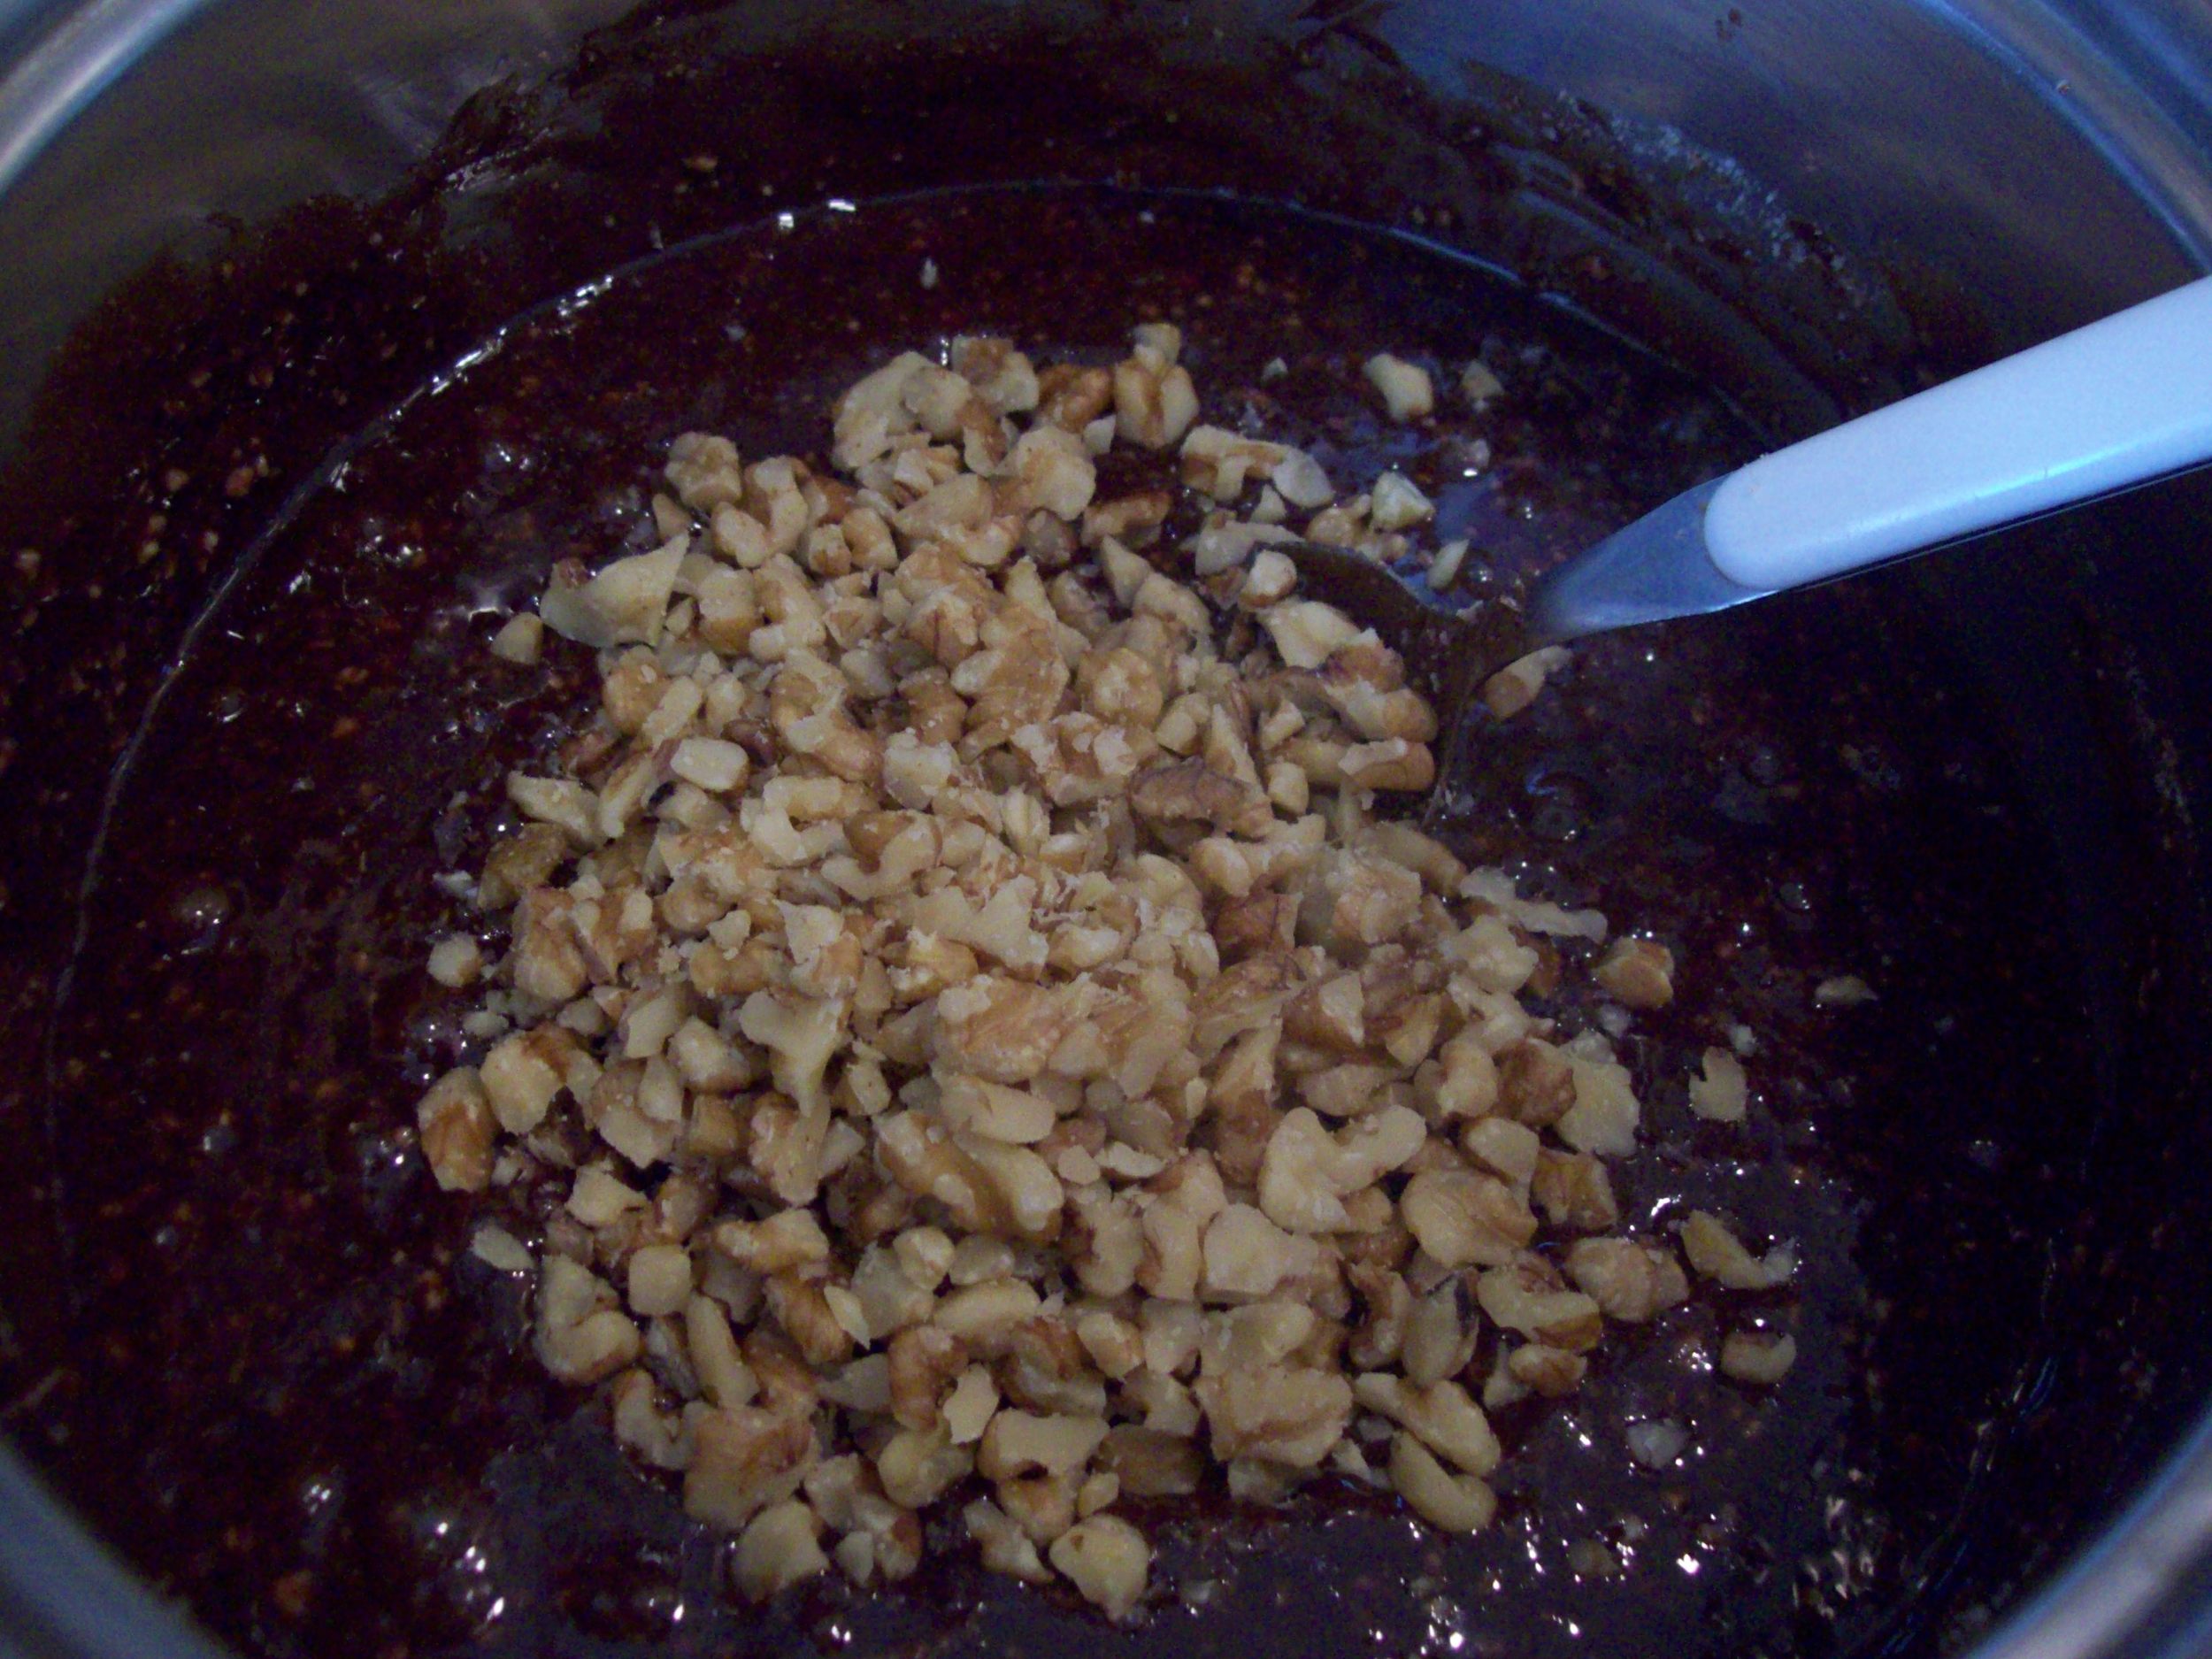
Here are the ingredients: 1 cup of chocolate (I love dark), 1 cup butter, 1 cup sugar, 1 1/2 cups almond meal, 3 eggs, 1 teaspoon vanilla extract, 1 teaspoon almond extract, and 1 cup chopped walnuts.

First, melt the butter and chocolate together until glossy and smooth.

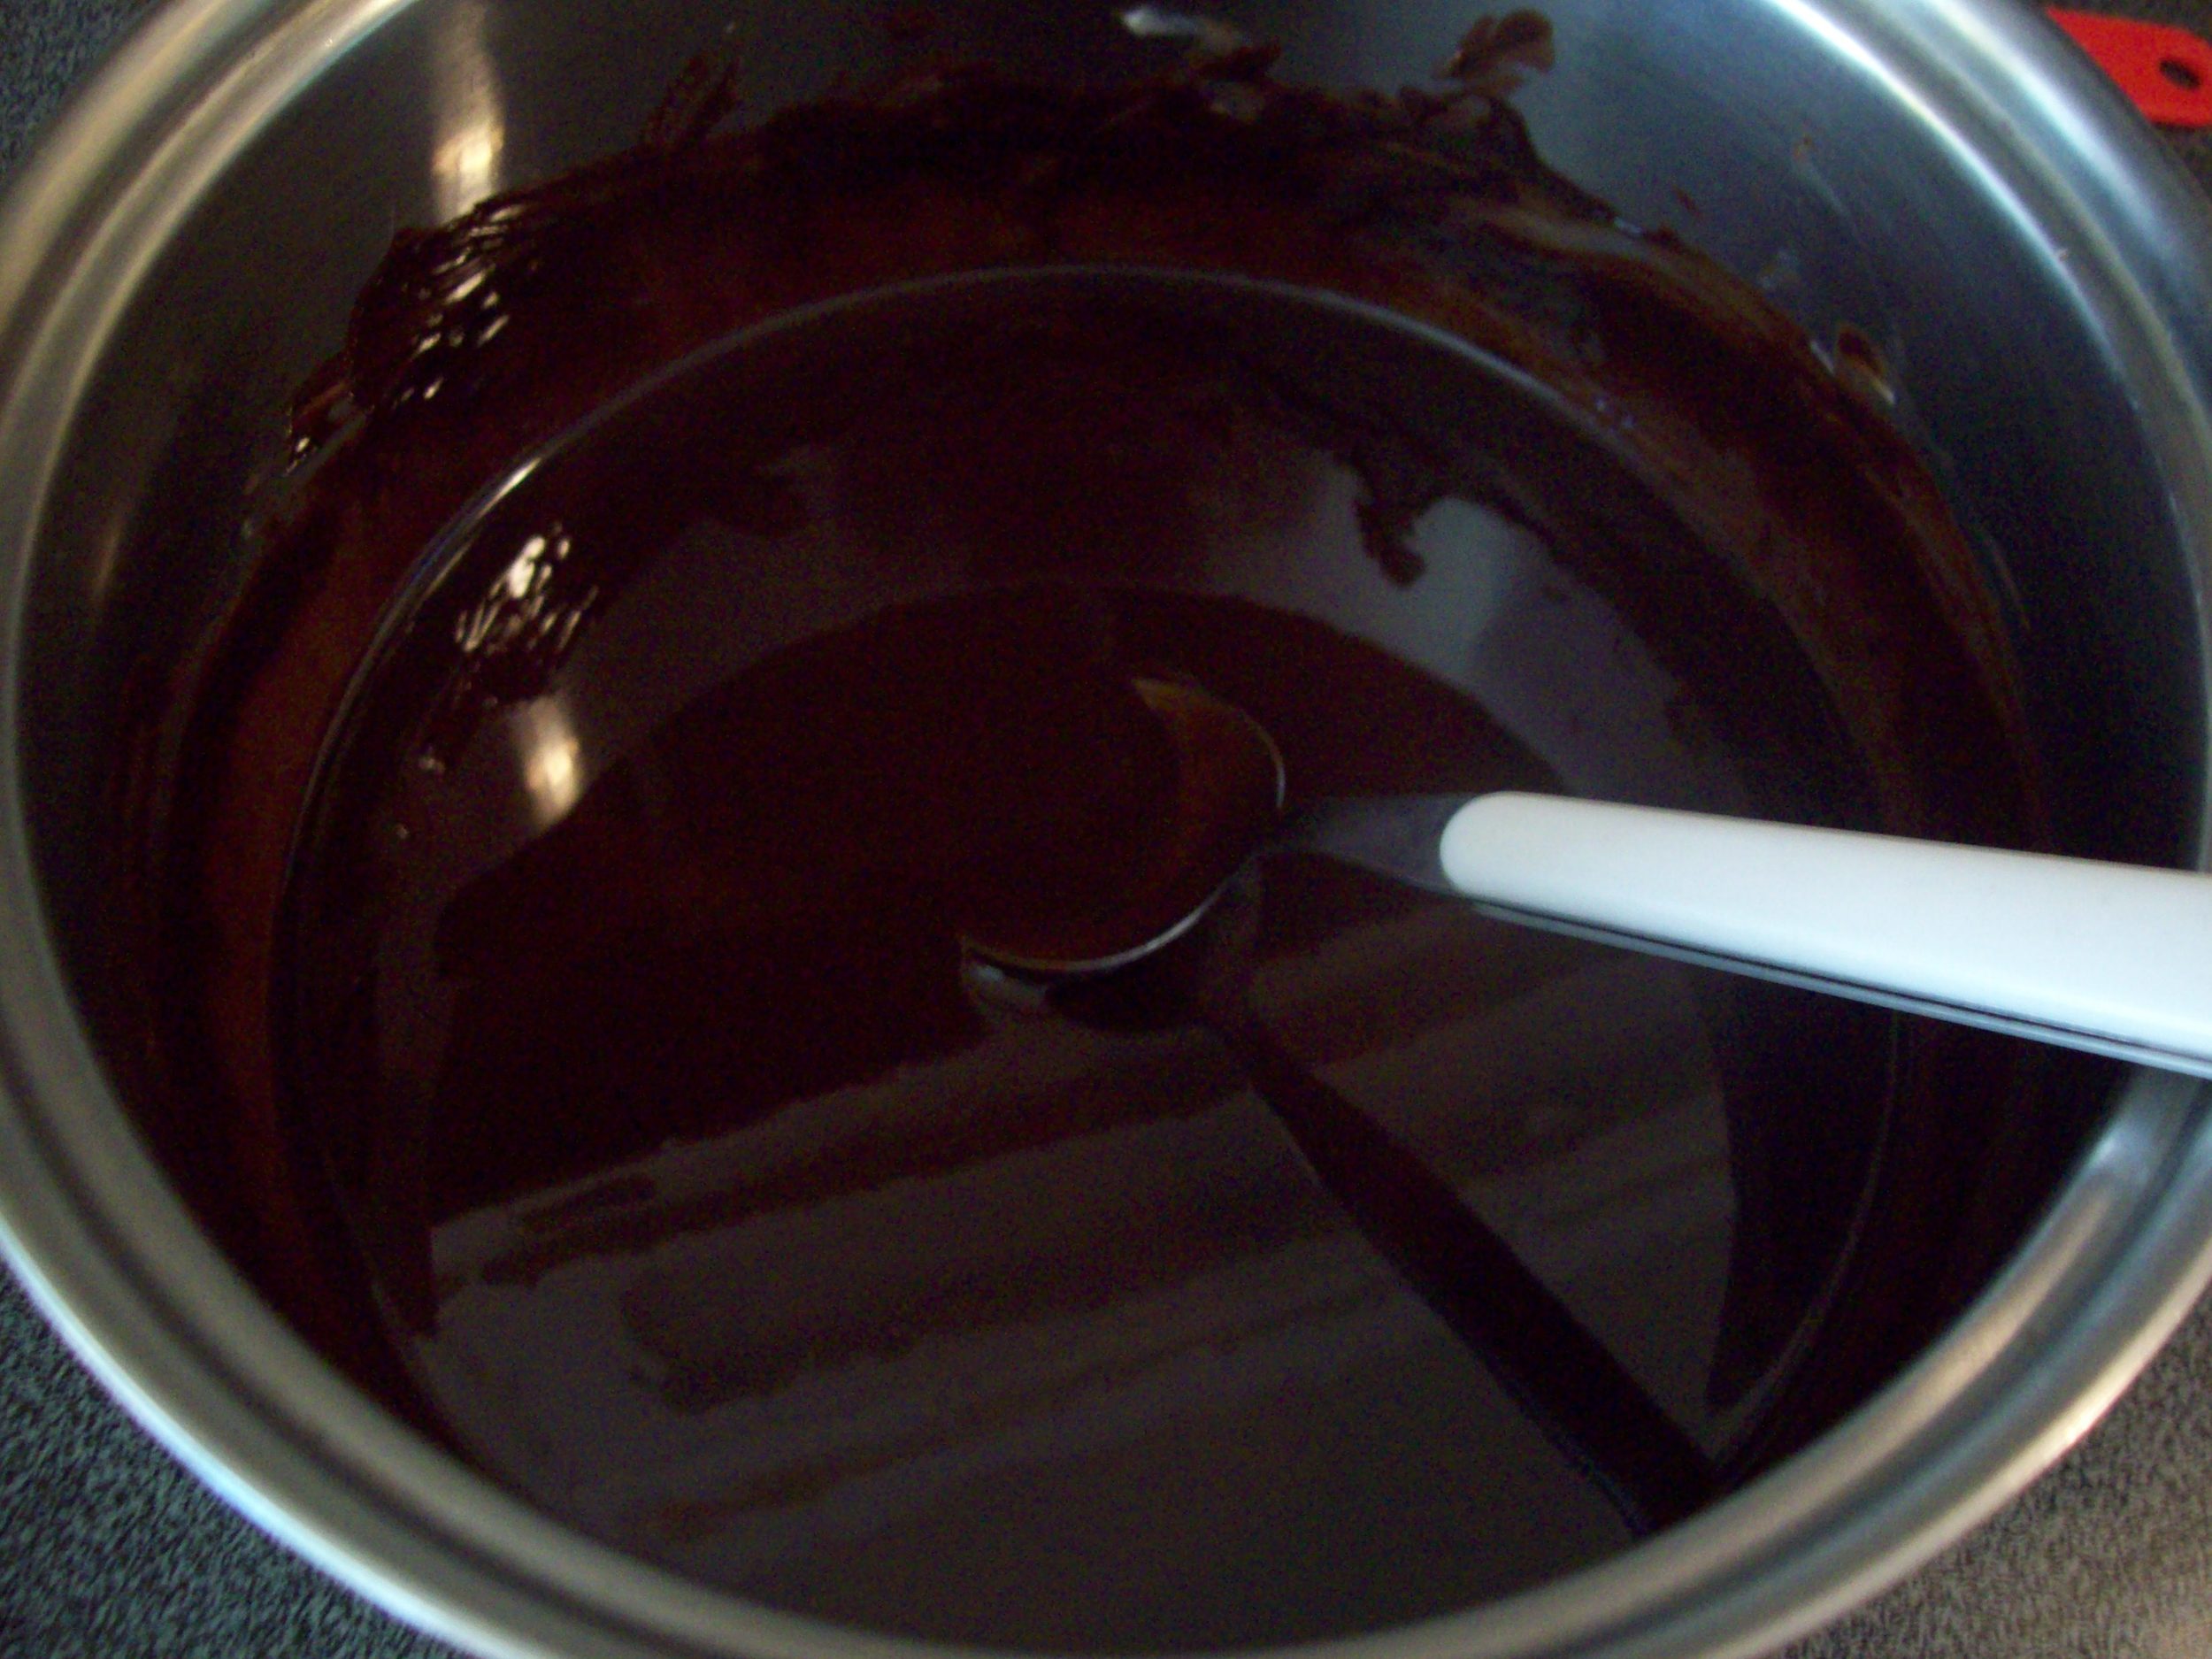
Take off heat and stir in sugar, vanilla and almond extracts. Allow to cool for a few minutes and stir in beaten eggs. Next, add in almond meal. Finally, mix in chopped walnuts.
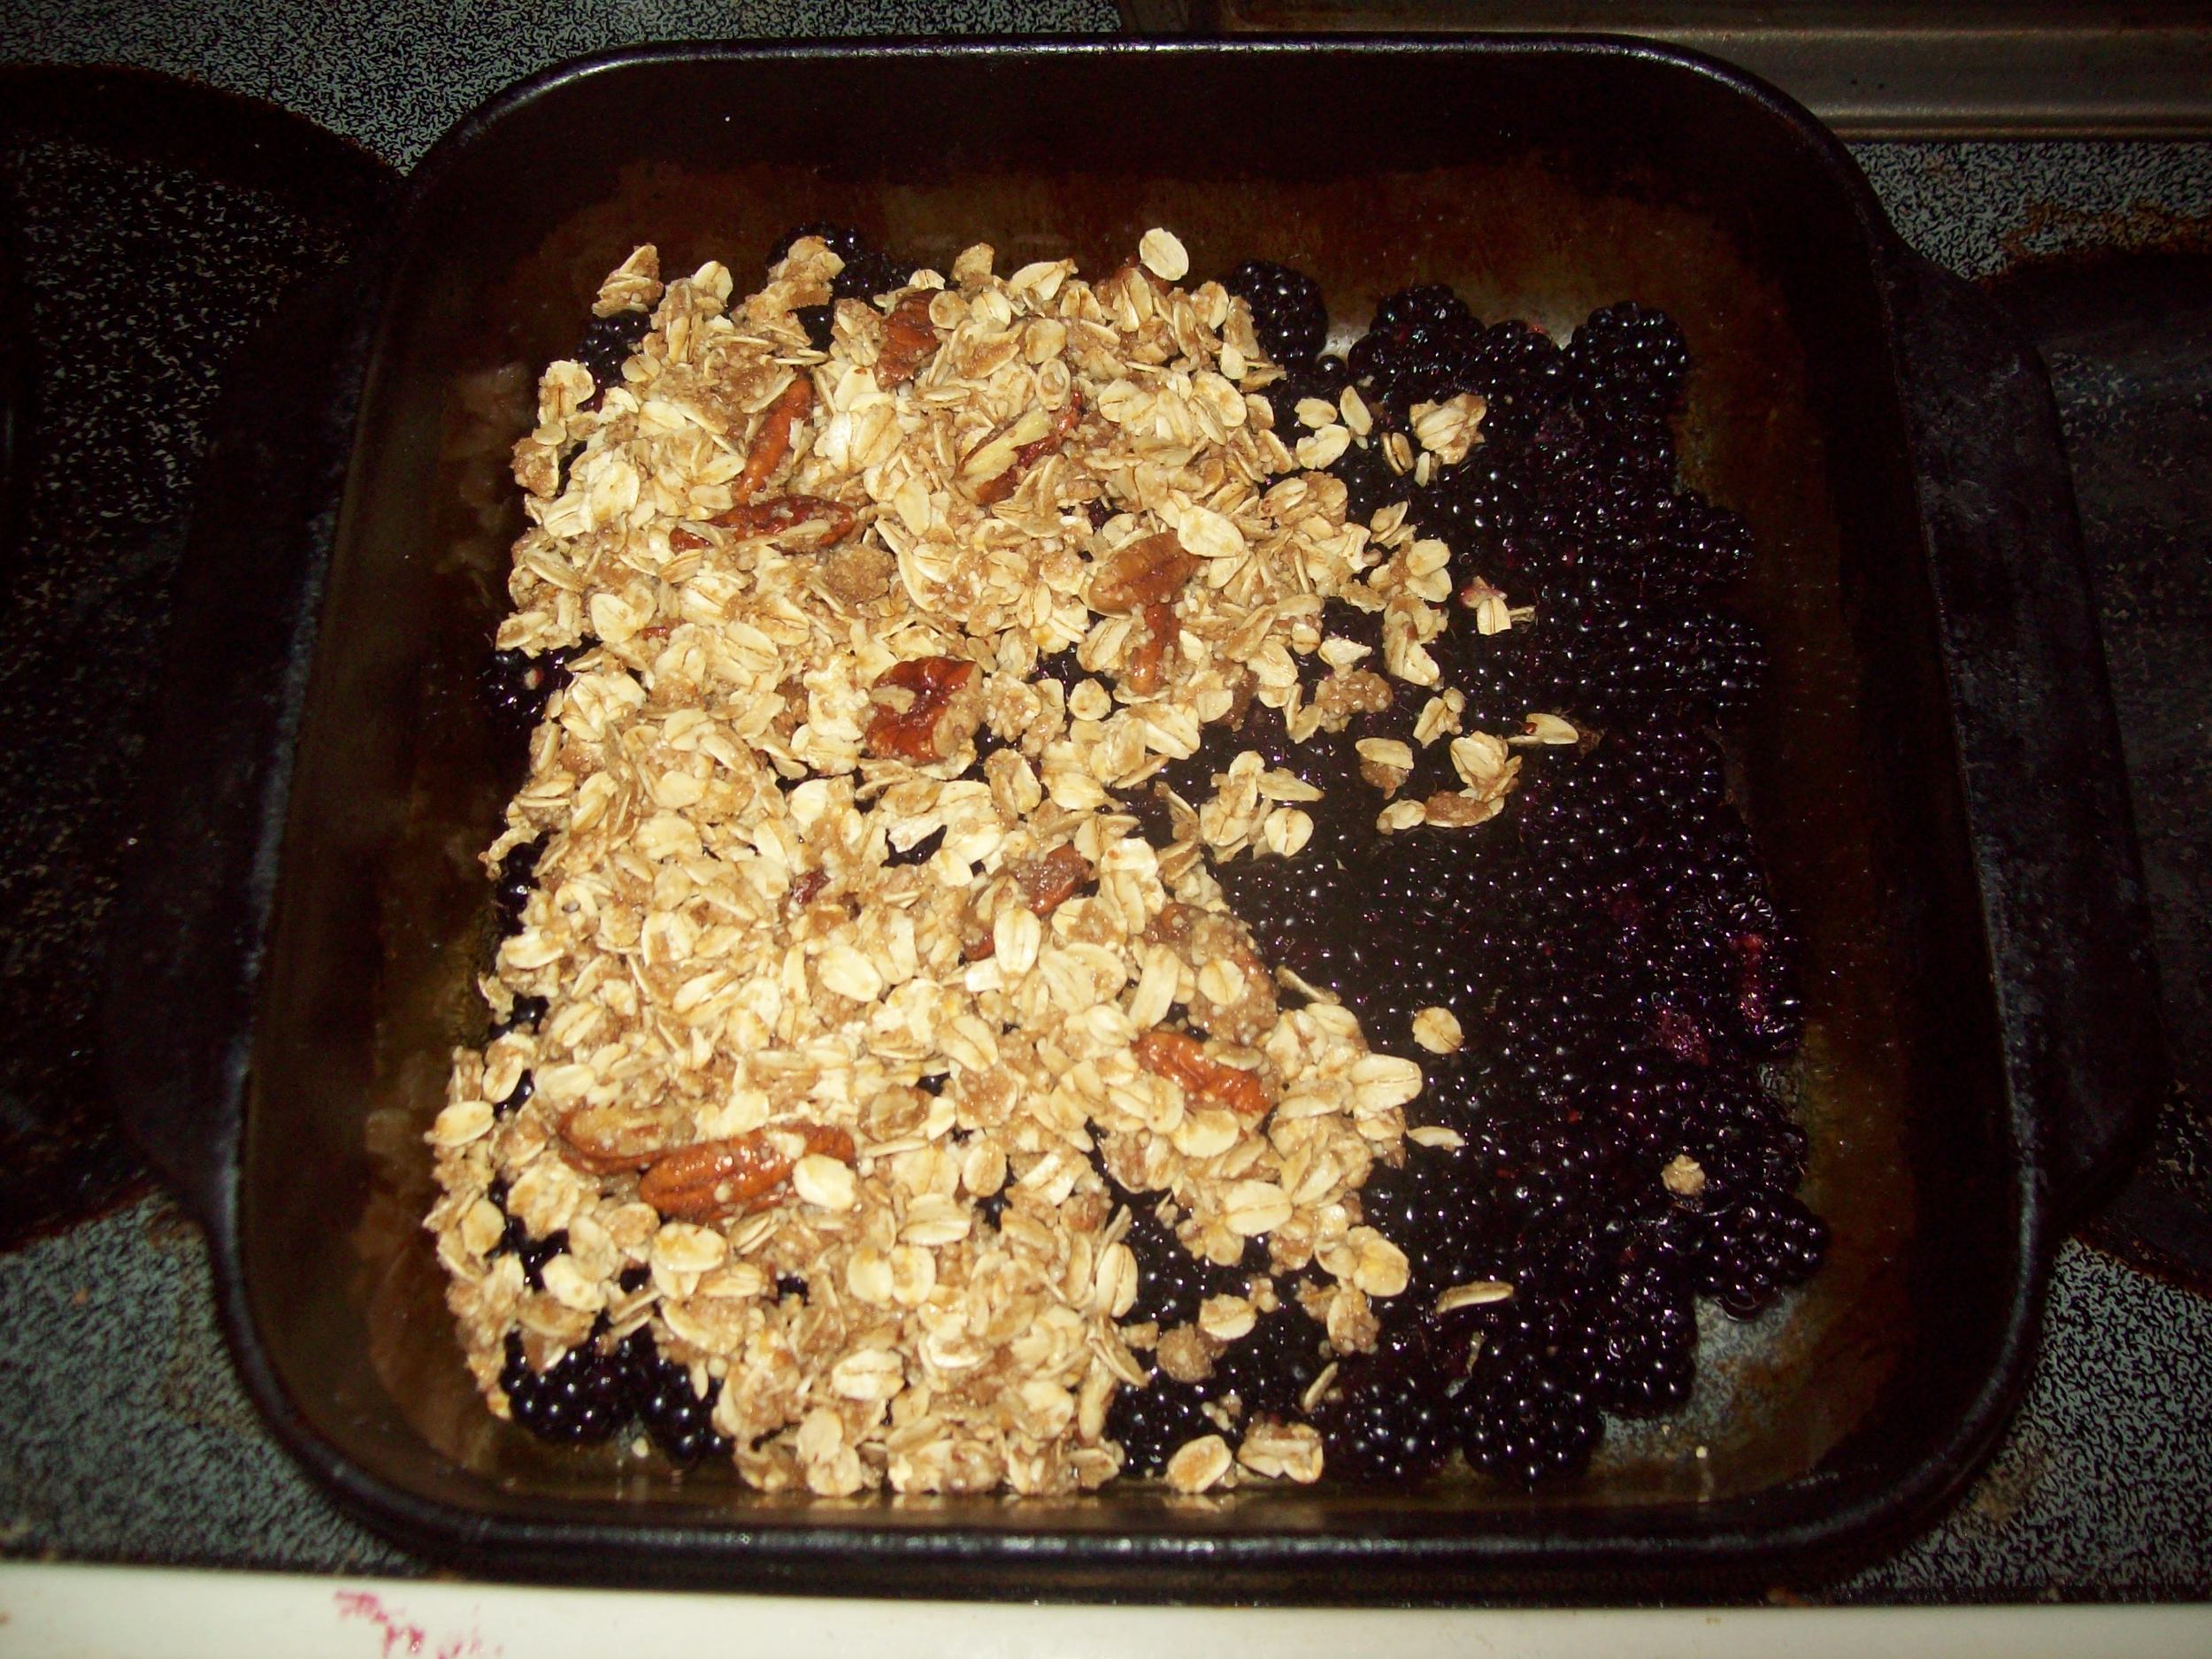
Pour into an 8 inch by 8 inch baking dish and bake at 325 for 25 to 30 minutes or until top is set but the brownies are still "a little wiggly," as Shuana says. Don't overbake them. When I'm baking something, I'll usually set the timer less five or so minutes than the lowest suggested time and check on it then and adjust because every oven is different. For this recipe, I set it for 20 minutes, but 25 minutes seemed to be the perfect time. When the timer went off at 20, I checked the brownies and added five more minutes.
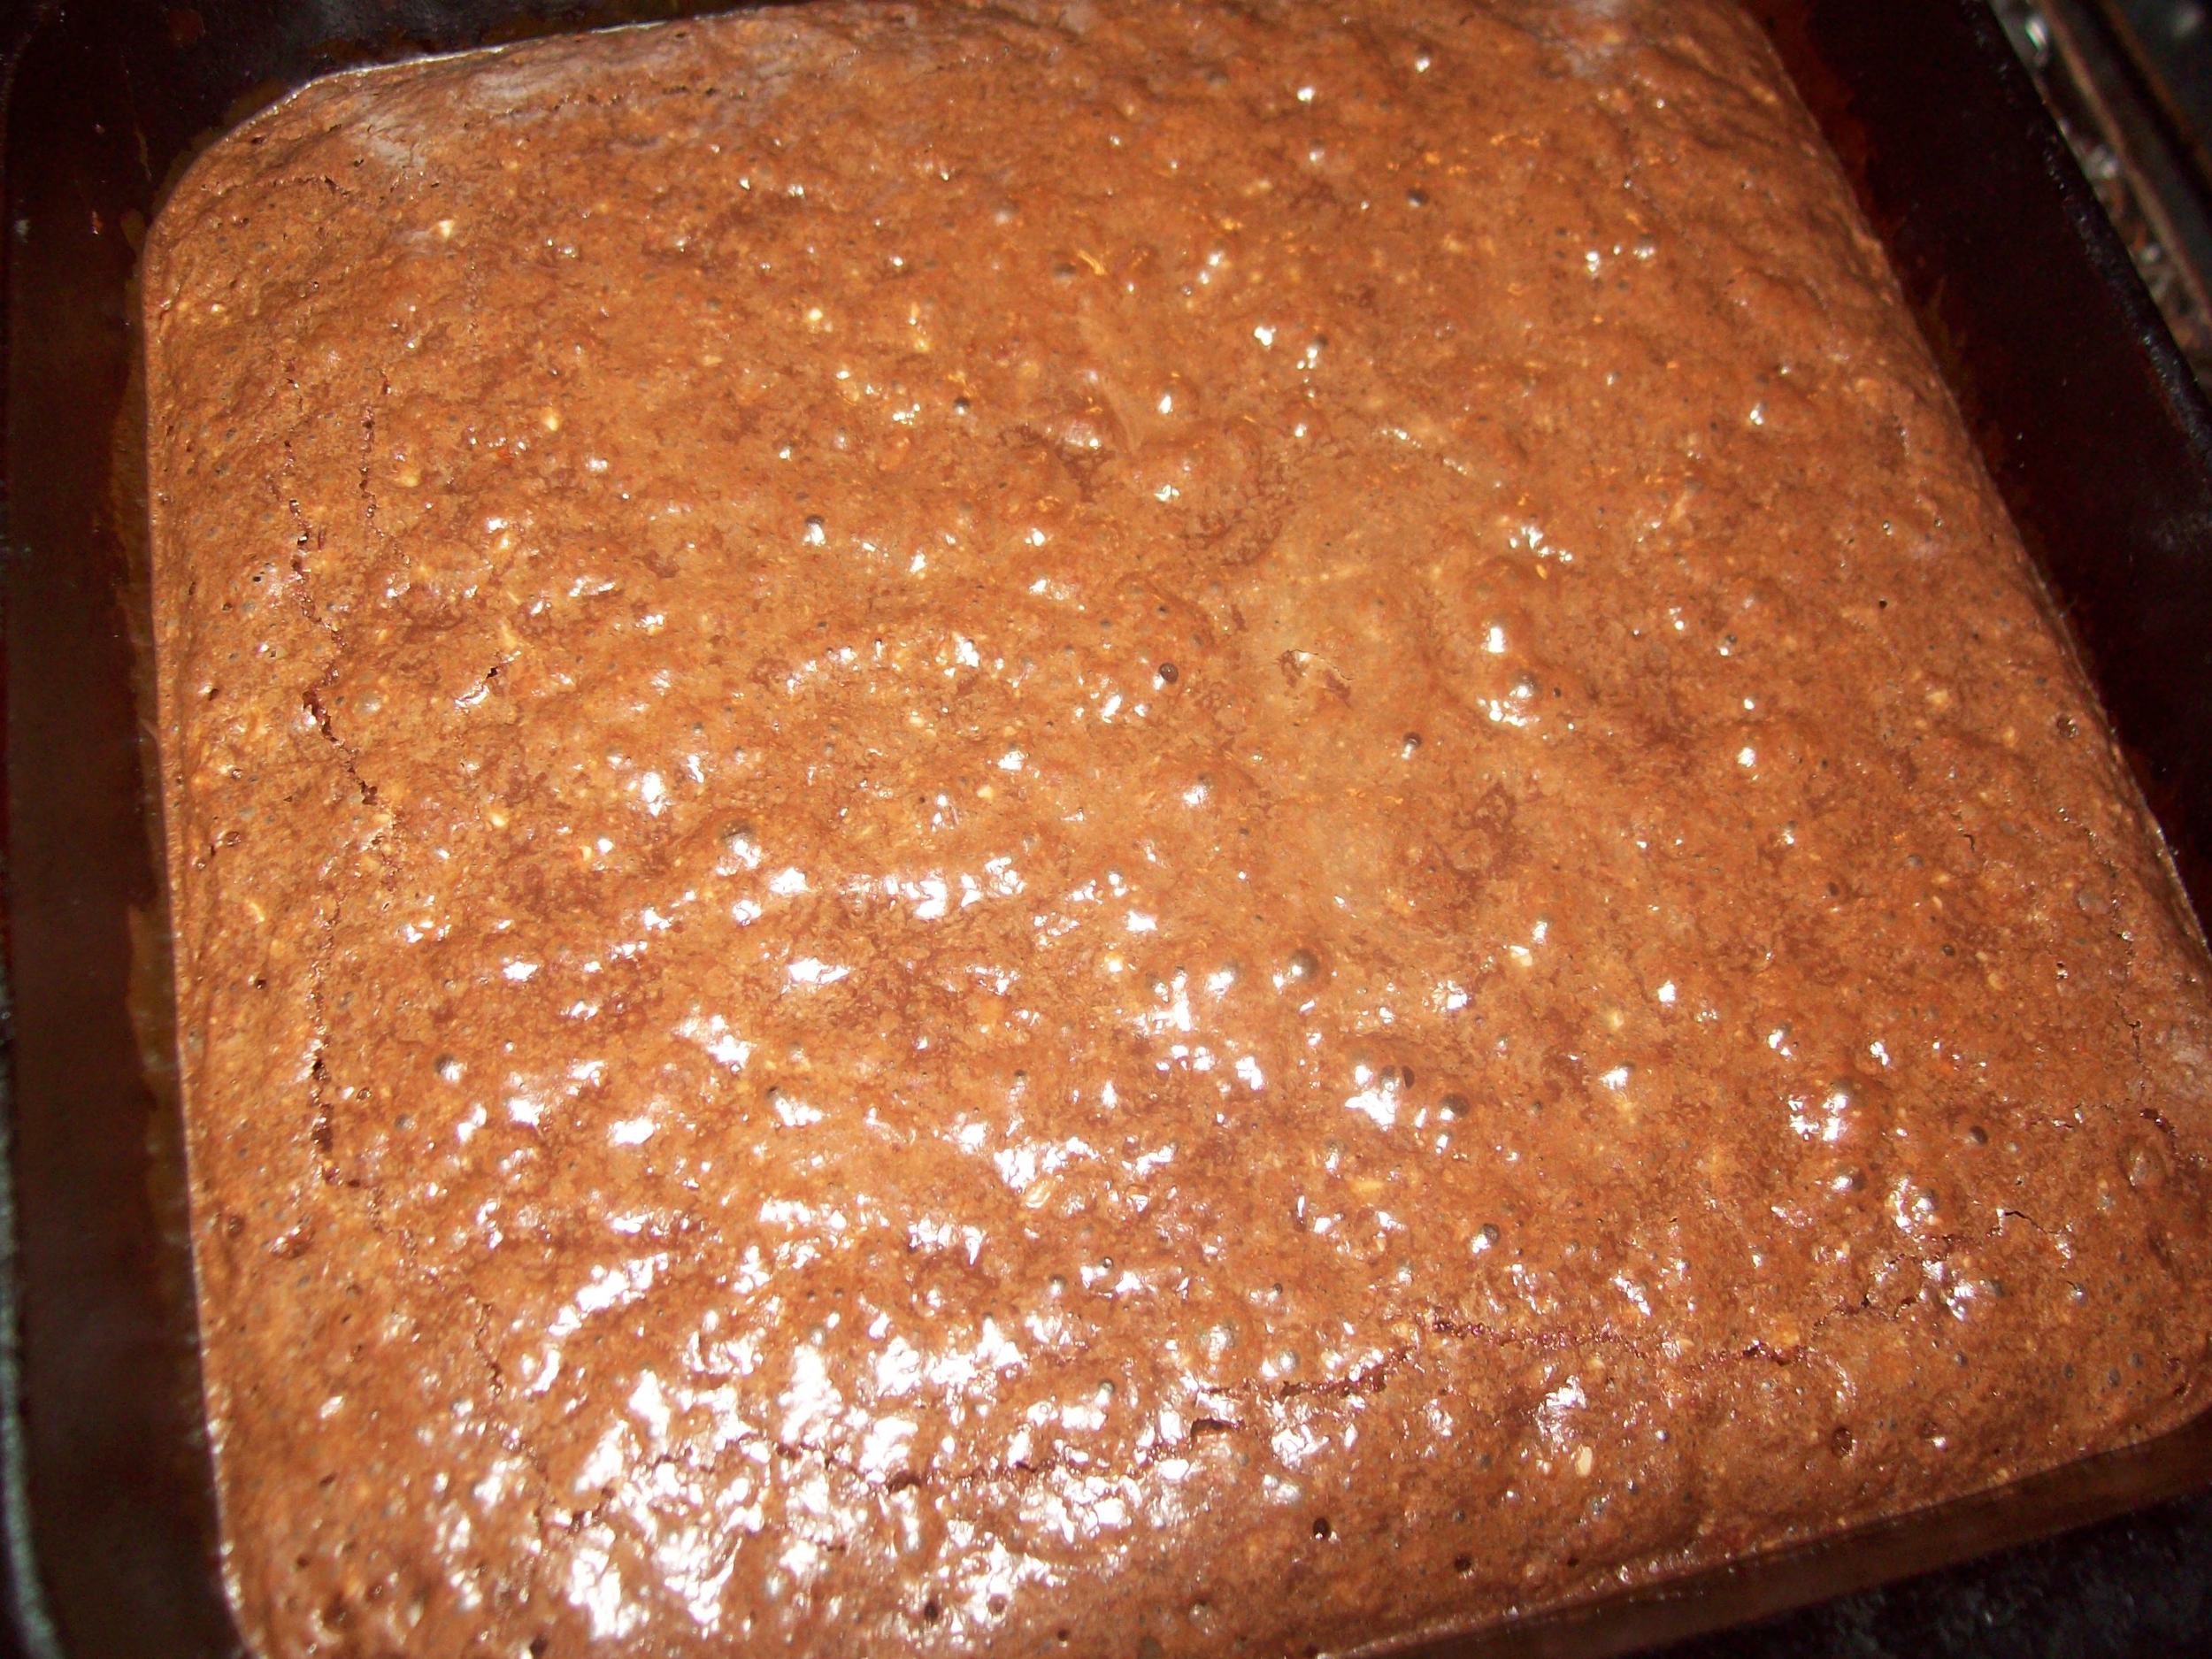
Allow brownies to cool completely (several hours) before cutting. Brownies may see a little gooey when you take them out of the oven, but they set up as they cool and they are the BEST brownies I've ever had! Seriously! You won't miss the flour at all! Bon appetit!

BALSAMIC VINAIGRETTE
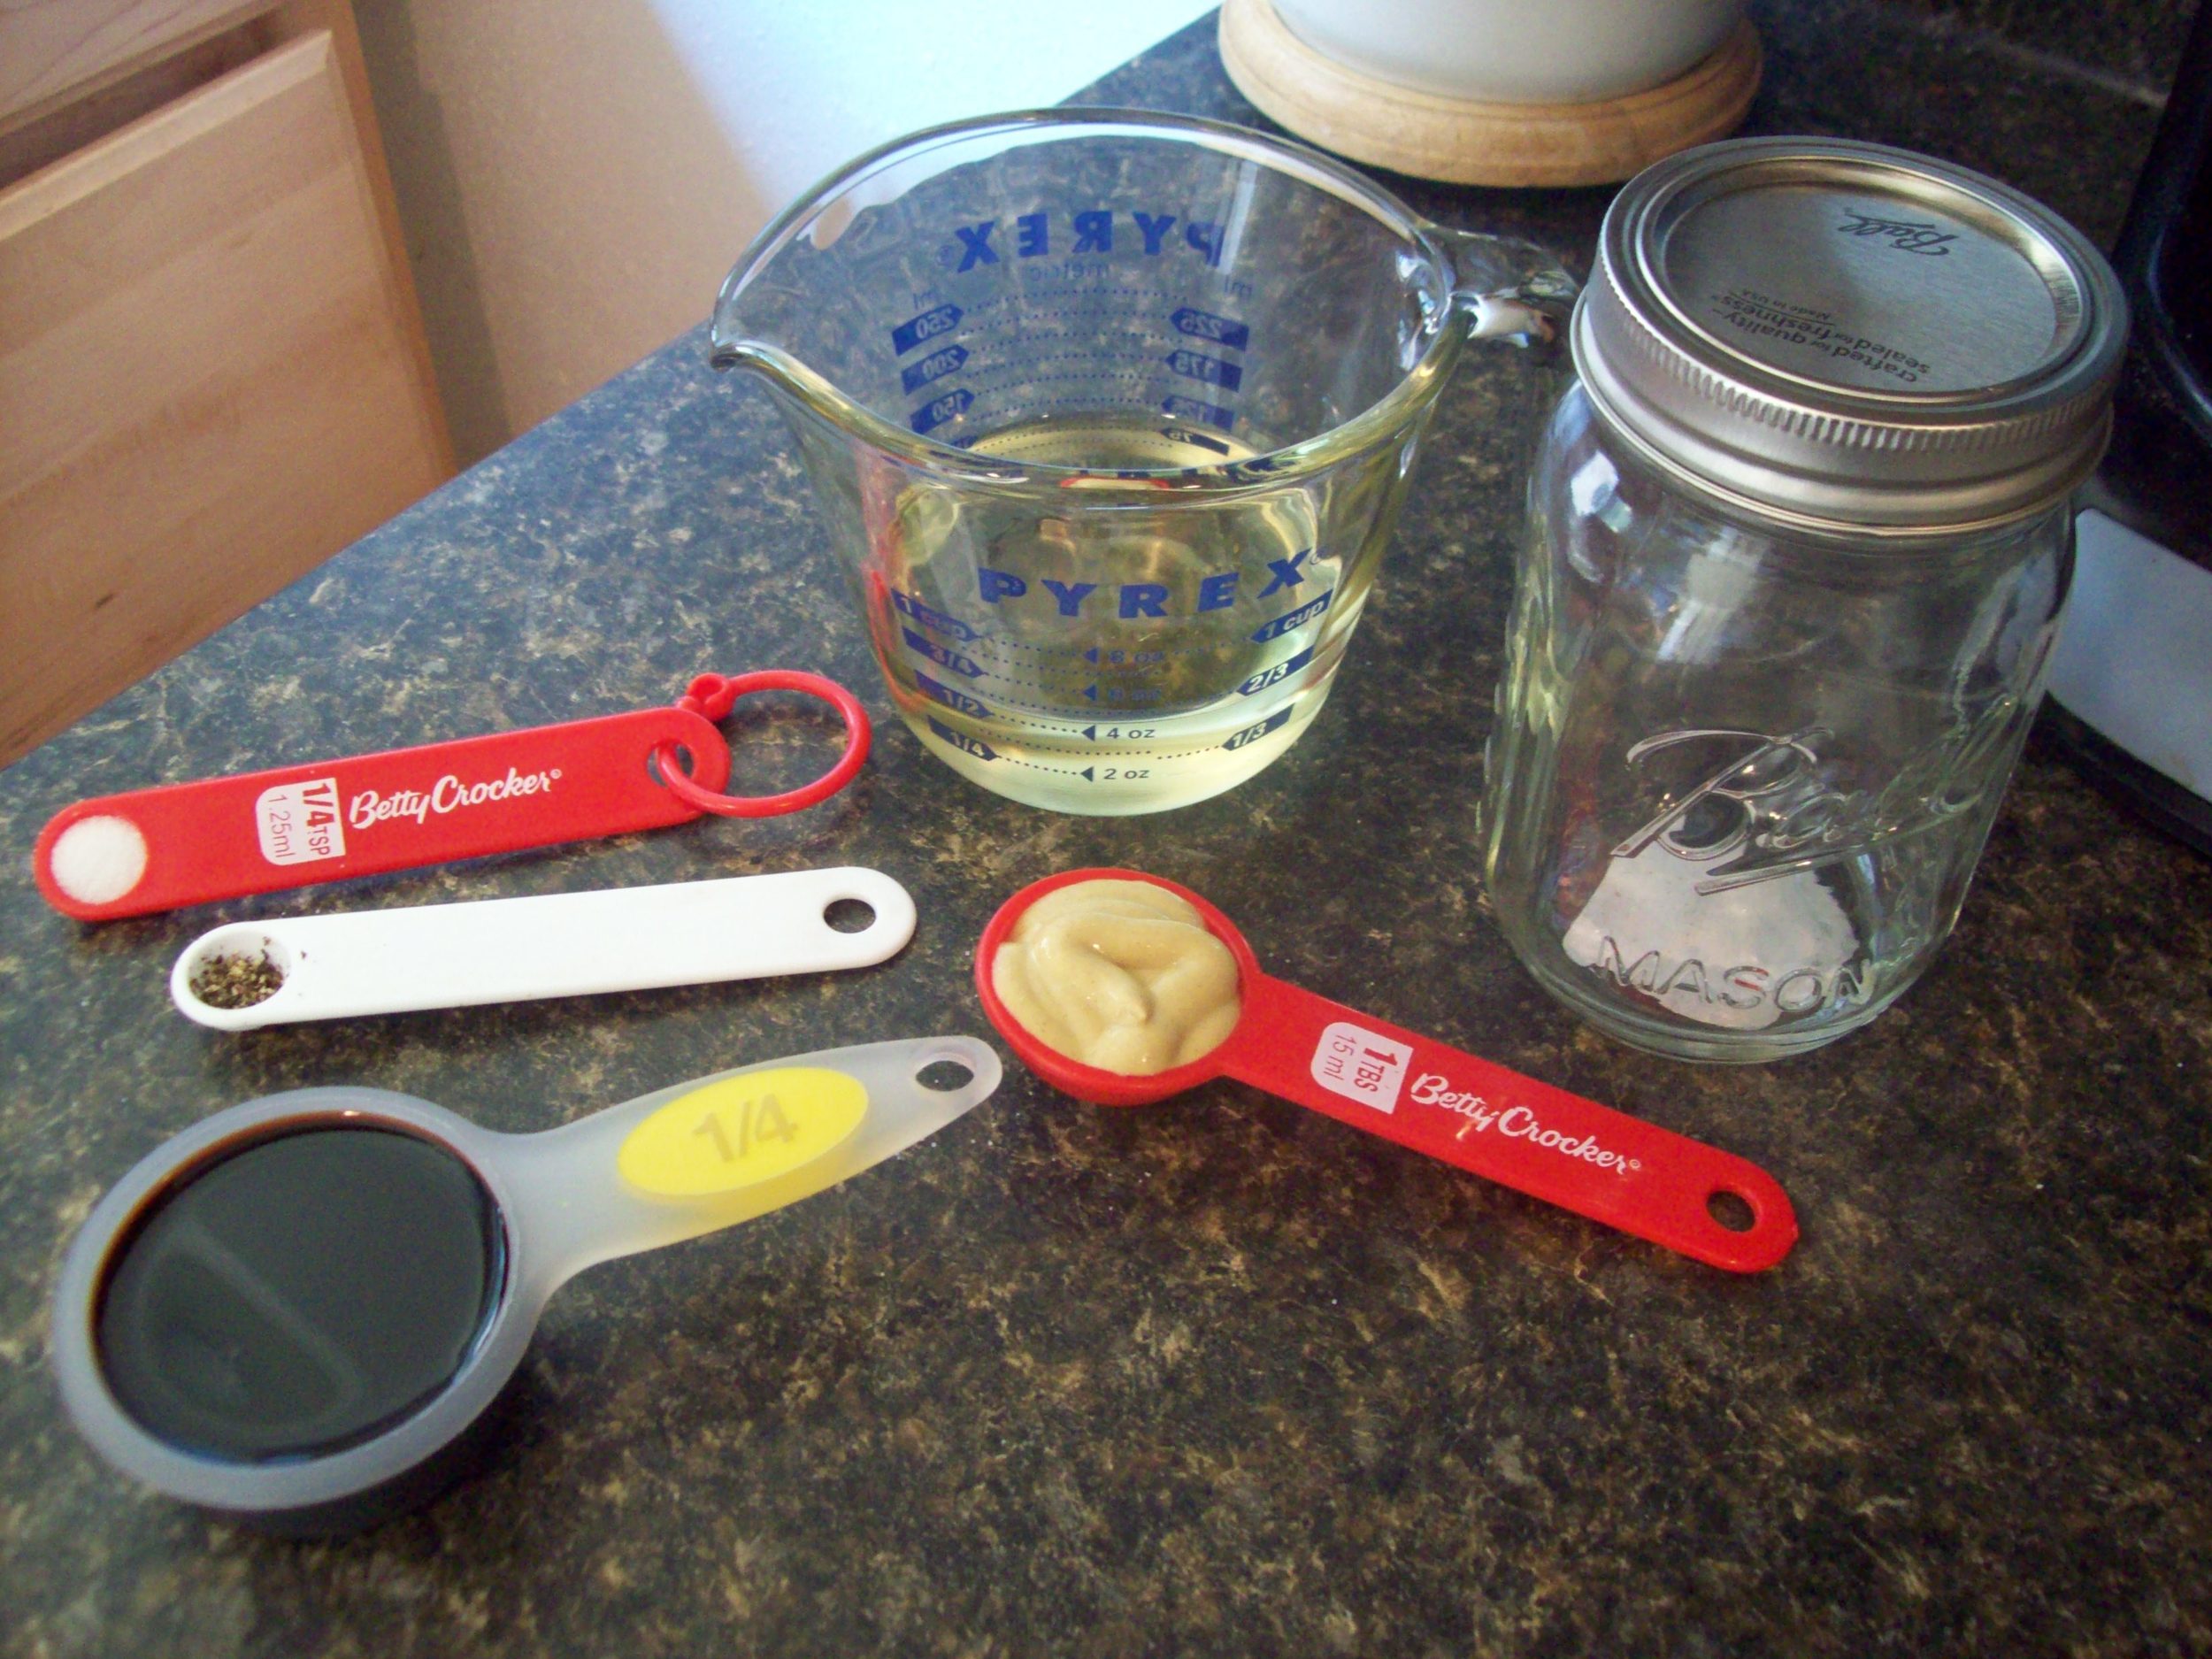
This is what you'll need to make the vinaigrette. You can blend them in a food processor, but Shauna suggests using a jelly jar. I found a cute Mason jar at Target for less than $2.

Here's the measurement break-down: 1 tablespoon Dijon, 1/4 cup balsamic vinegar, 1/4 teaspoon salt, 1/8 teaspoon pepper, and 1/2 cup olive oil.
First, add the Dijon, vinegar, and salt and pepper to the jar. Screw on the lid and shake until blended. Add the olive oil, replace lid, and shake, shake, shake. Dip one leaf of your greens into the vinaigrette. If too vinegary for your taste, start with a half a teaspoon of sugar and adjust from there.
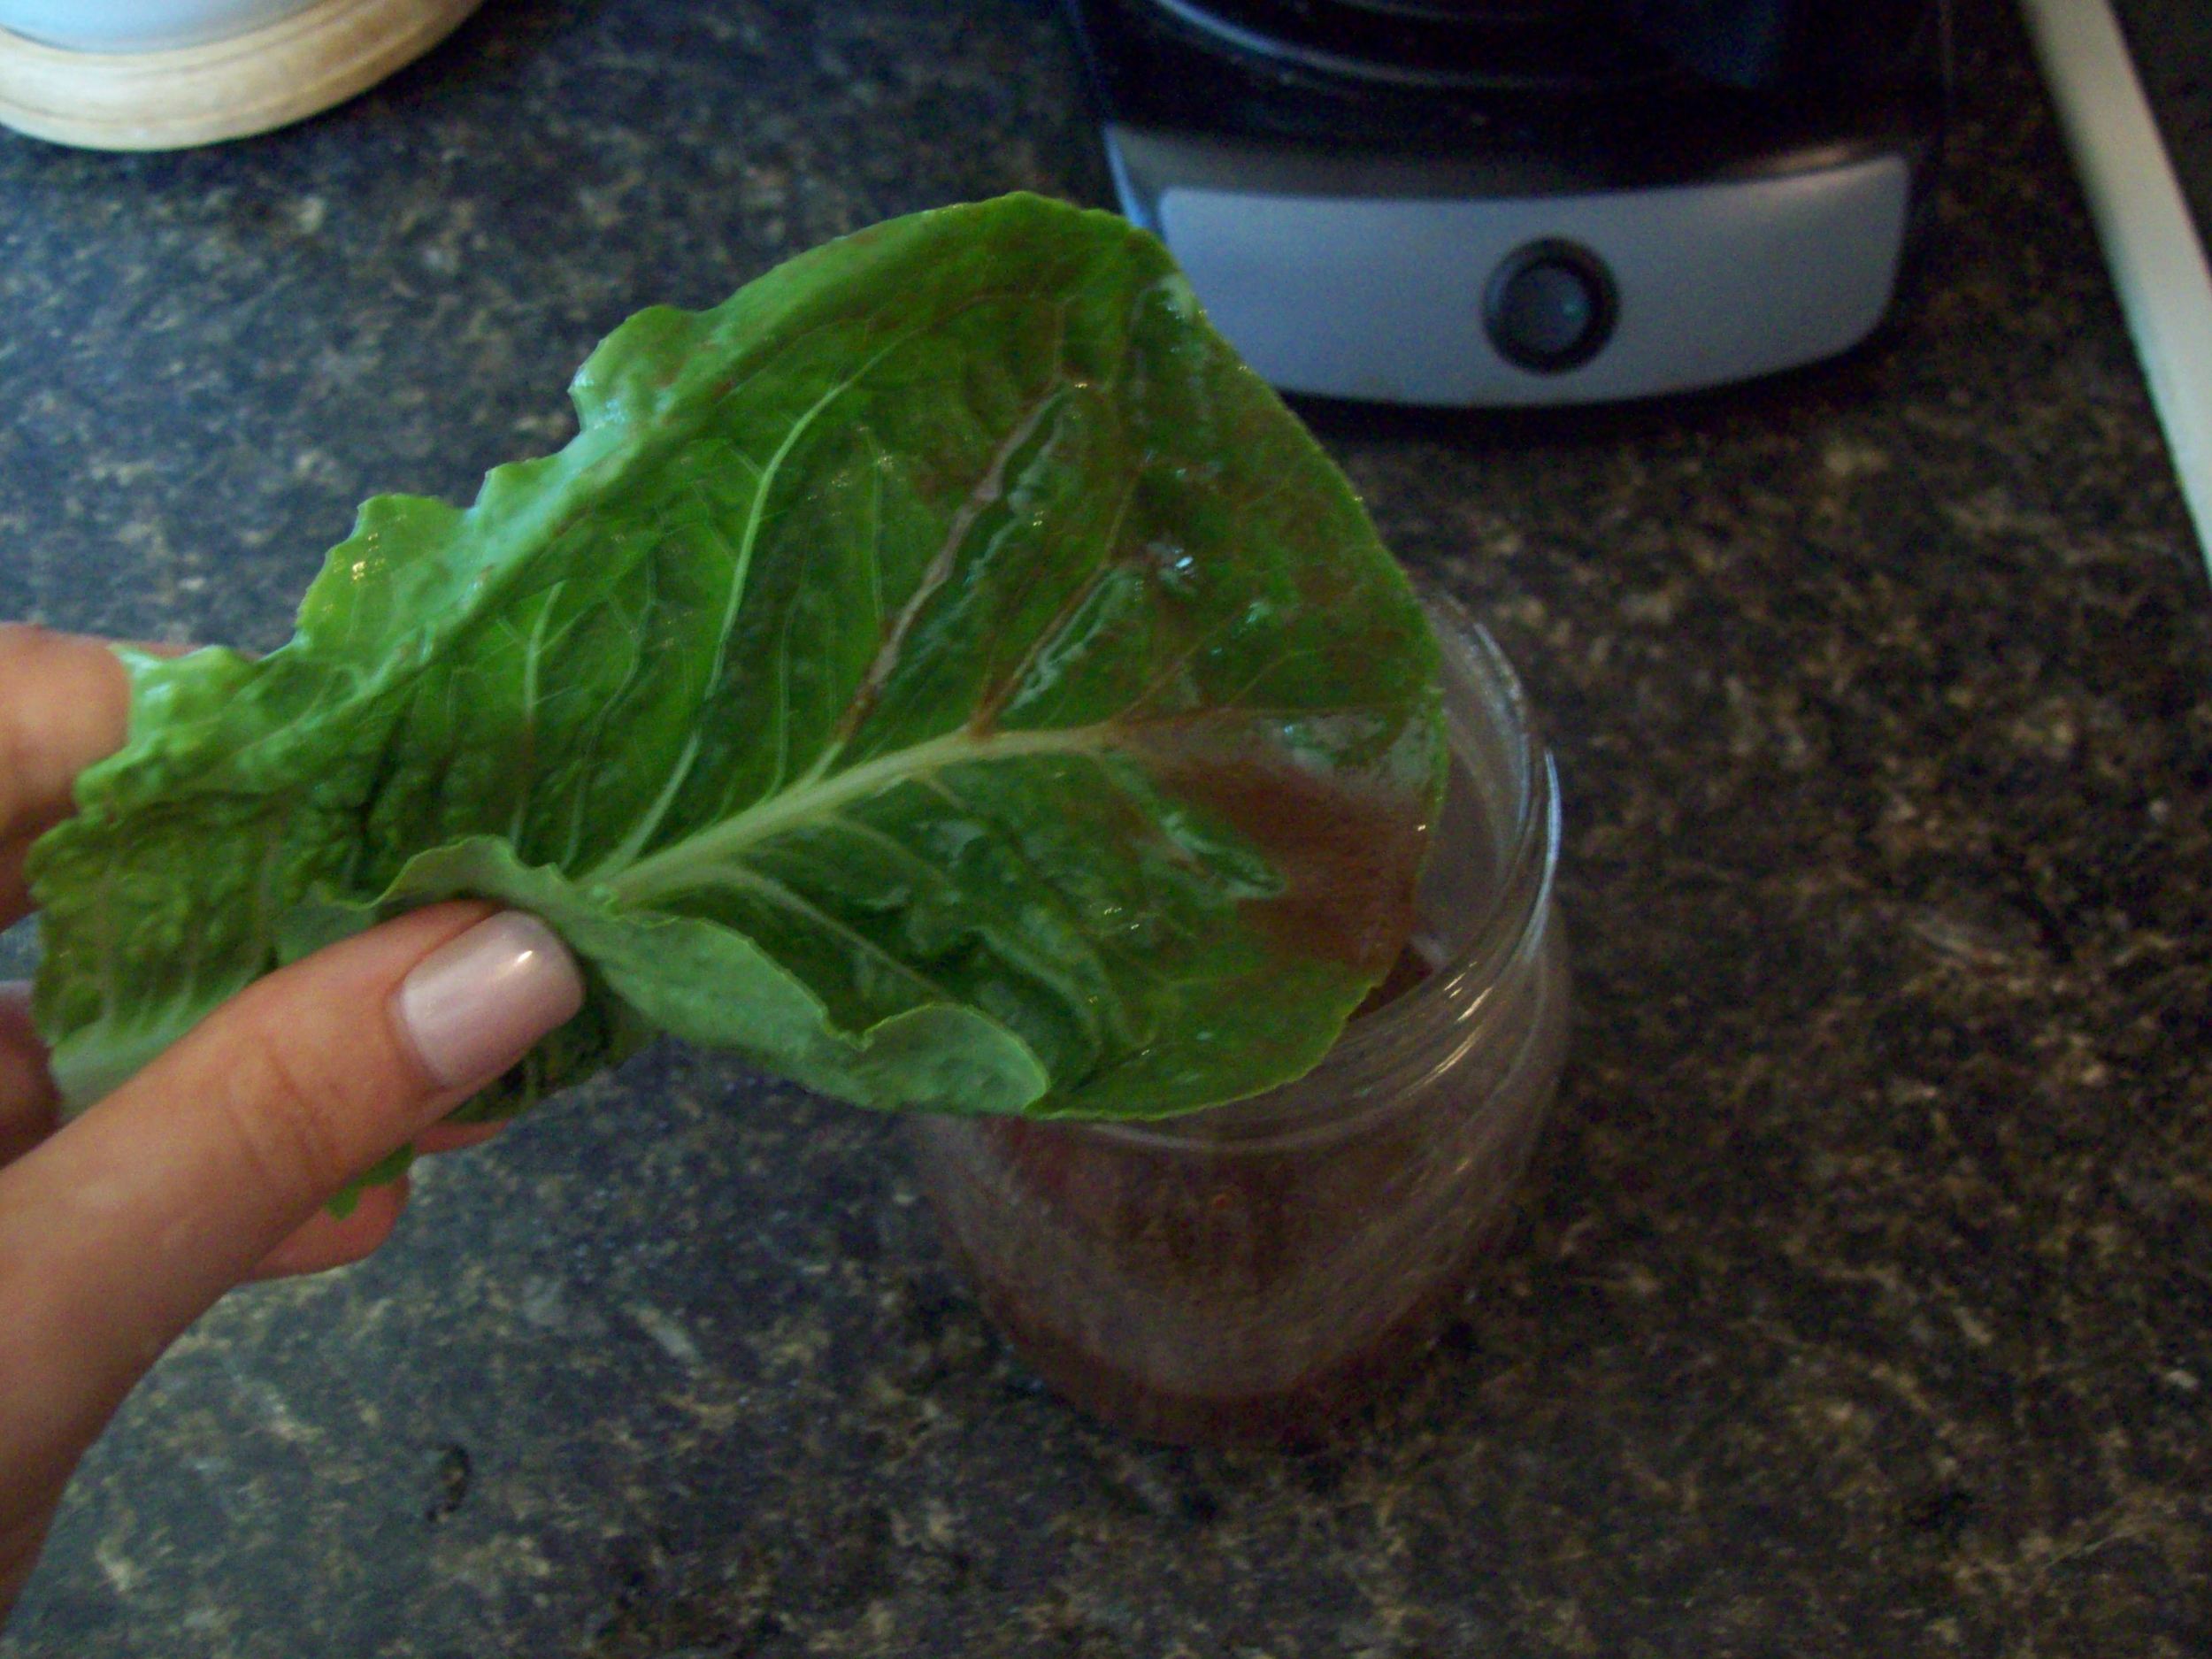
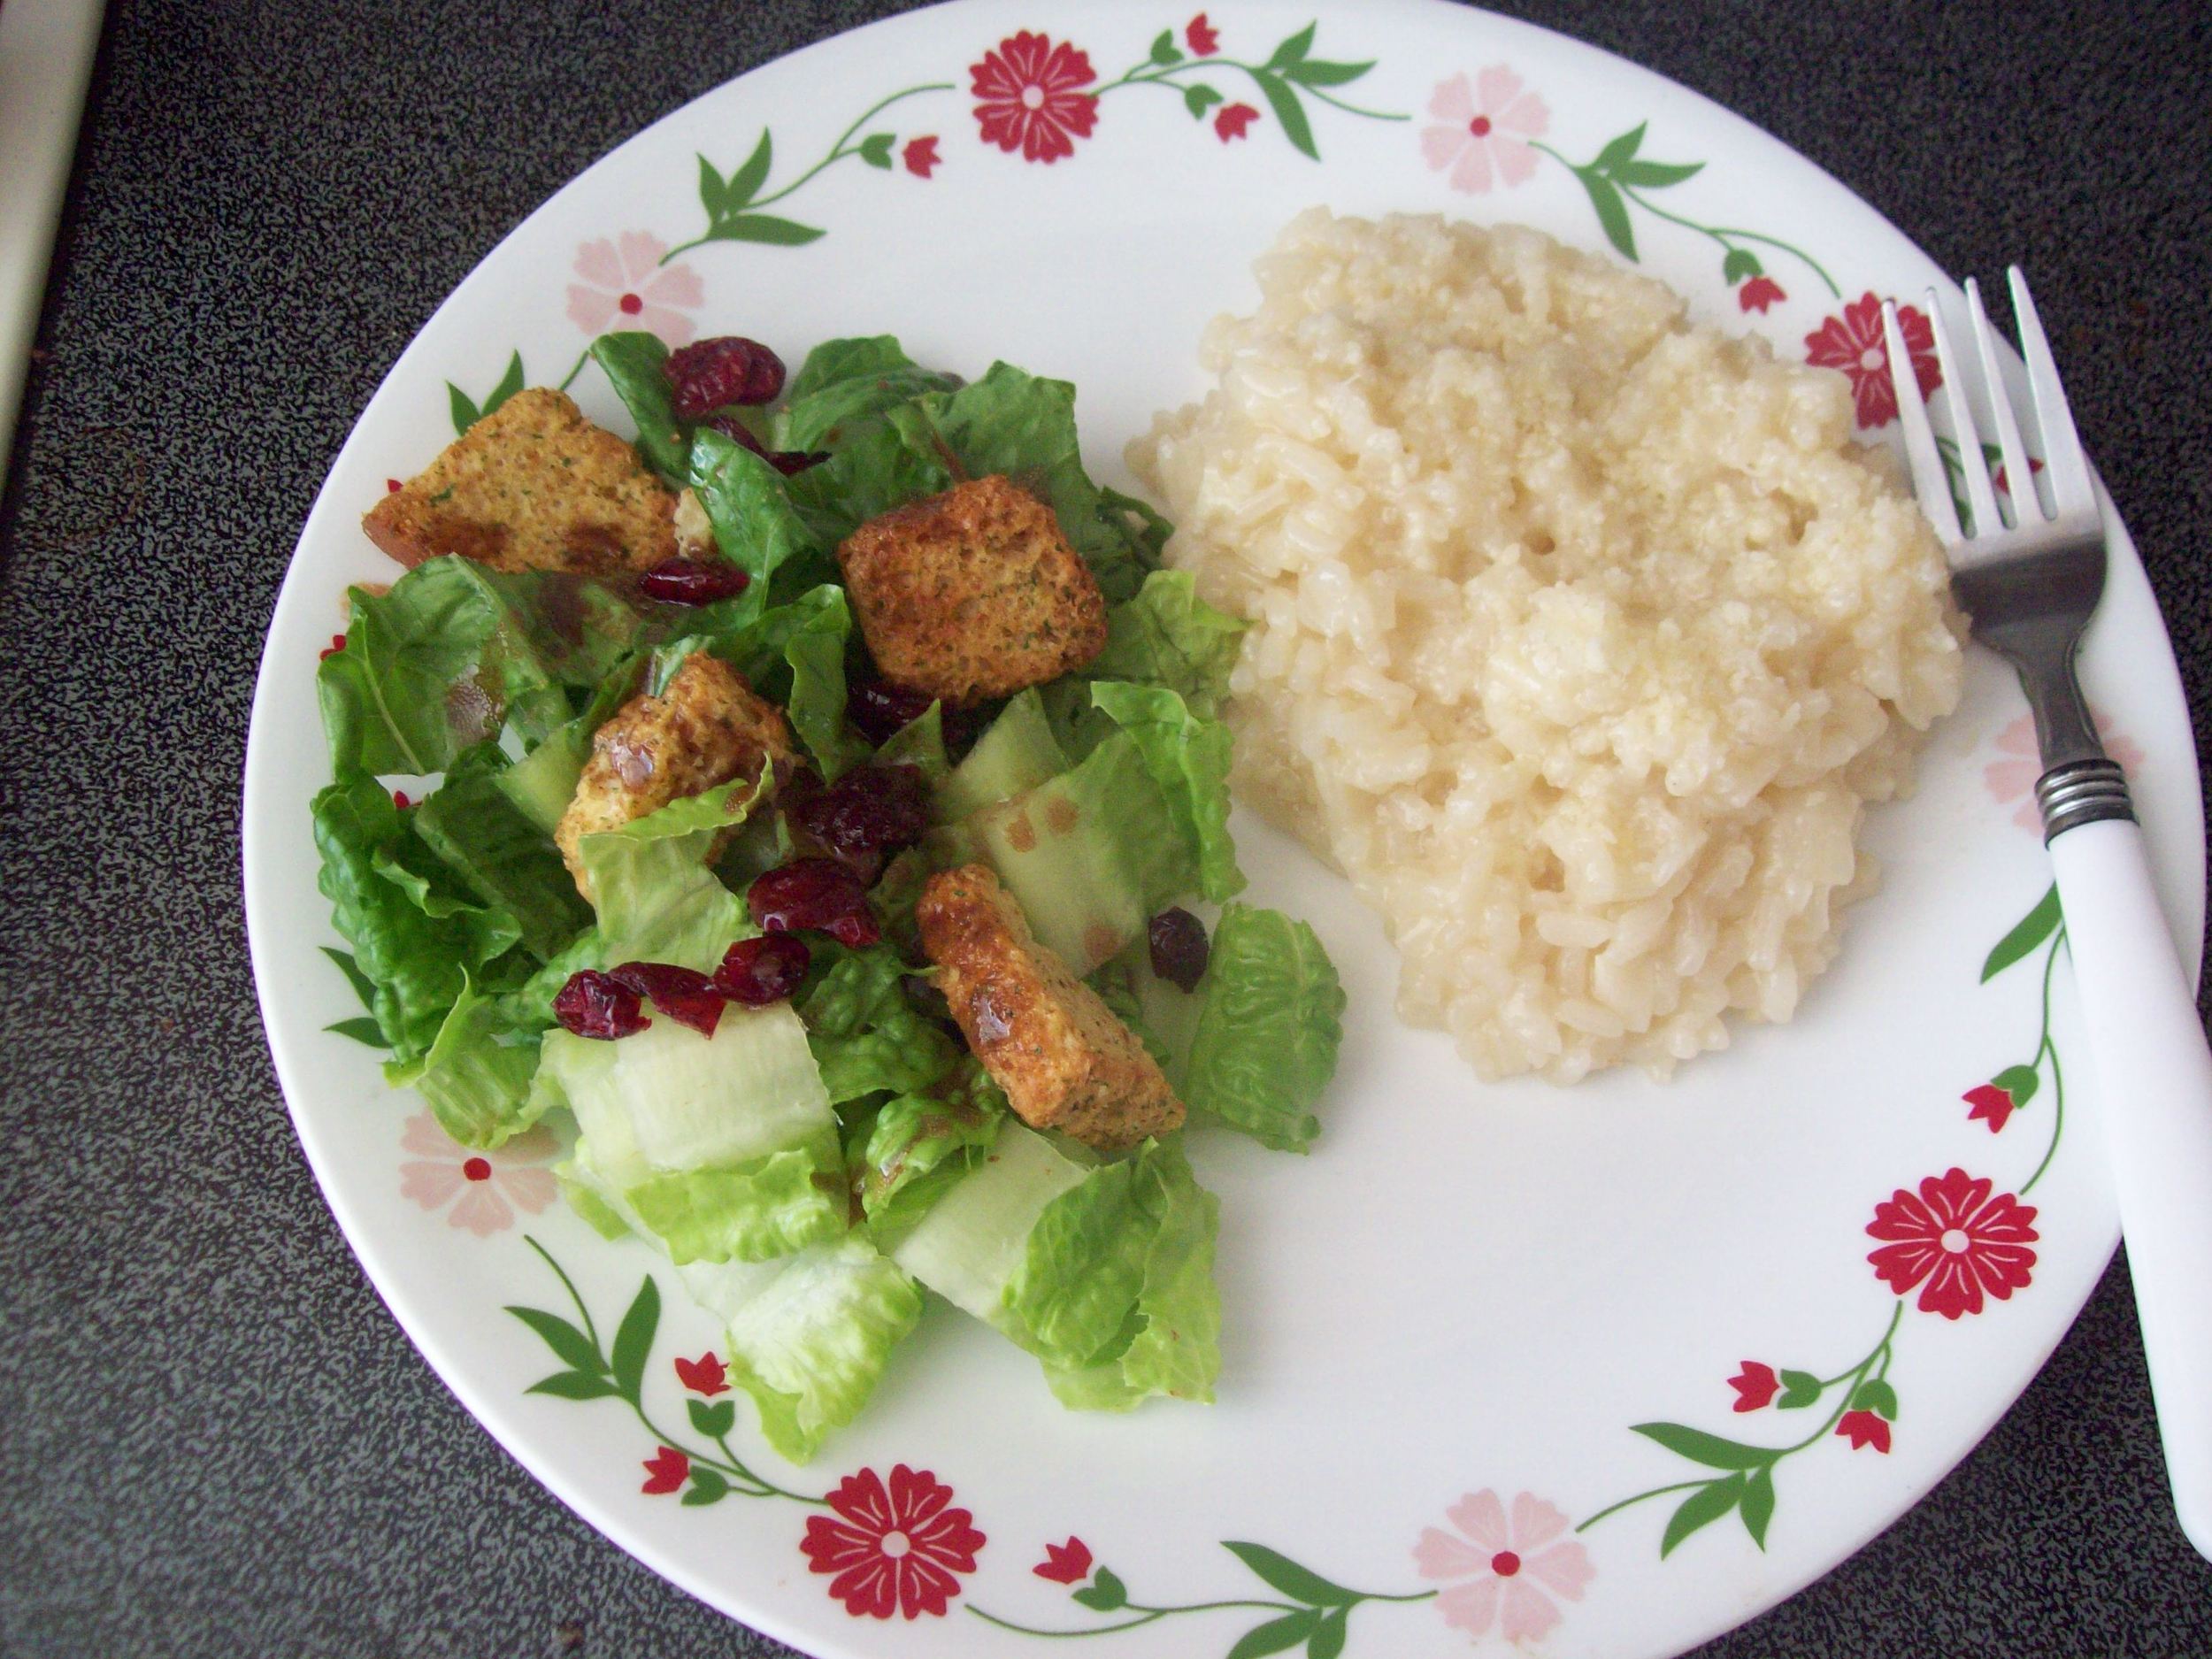
Shauna puts this vinaigrette on everything - over greens, rice, roasted broccoli, soup, and she dips bread in it. Sounds delish! I had it over romaine lettuce salad with croutons and dried cranberries along with my risotto (see photo at the end of the next recipe!)
RISOTTO
I had so much fun making this recipe for risotto, Italian for "rice." At first I was a little intimidated, but it wasn't that difficult at all! I had so much fun making this dish, which would be perfect to make on a rainy afternoon or during the winter, just because you're standing over the stove a lot.
Here is what you will need:


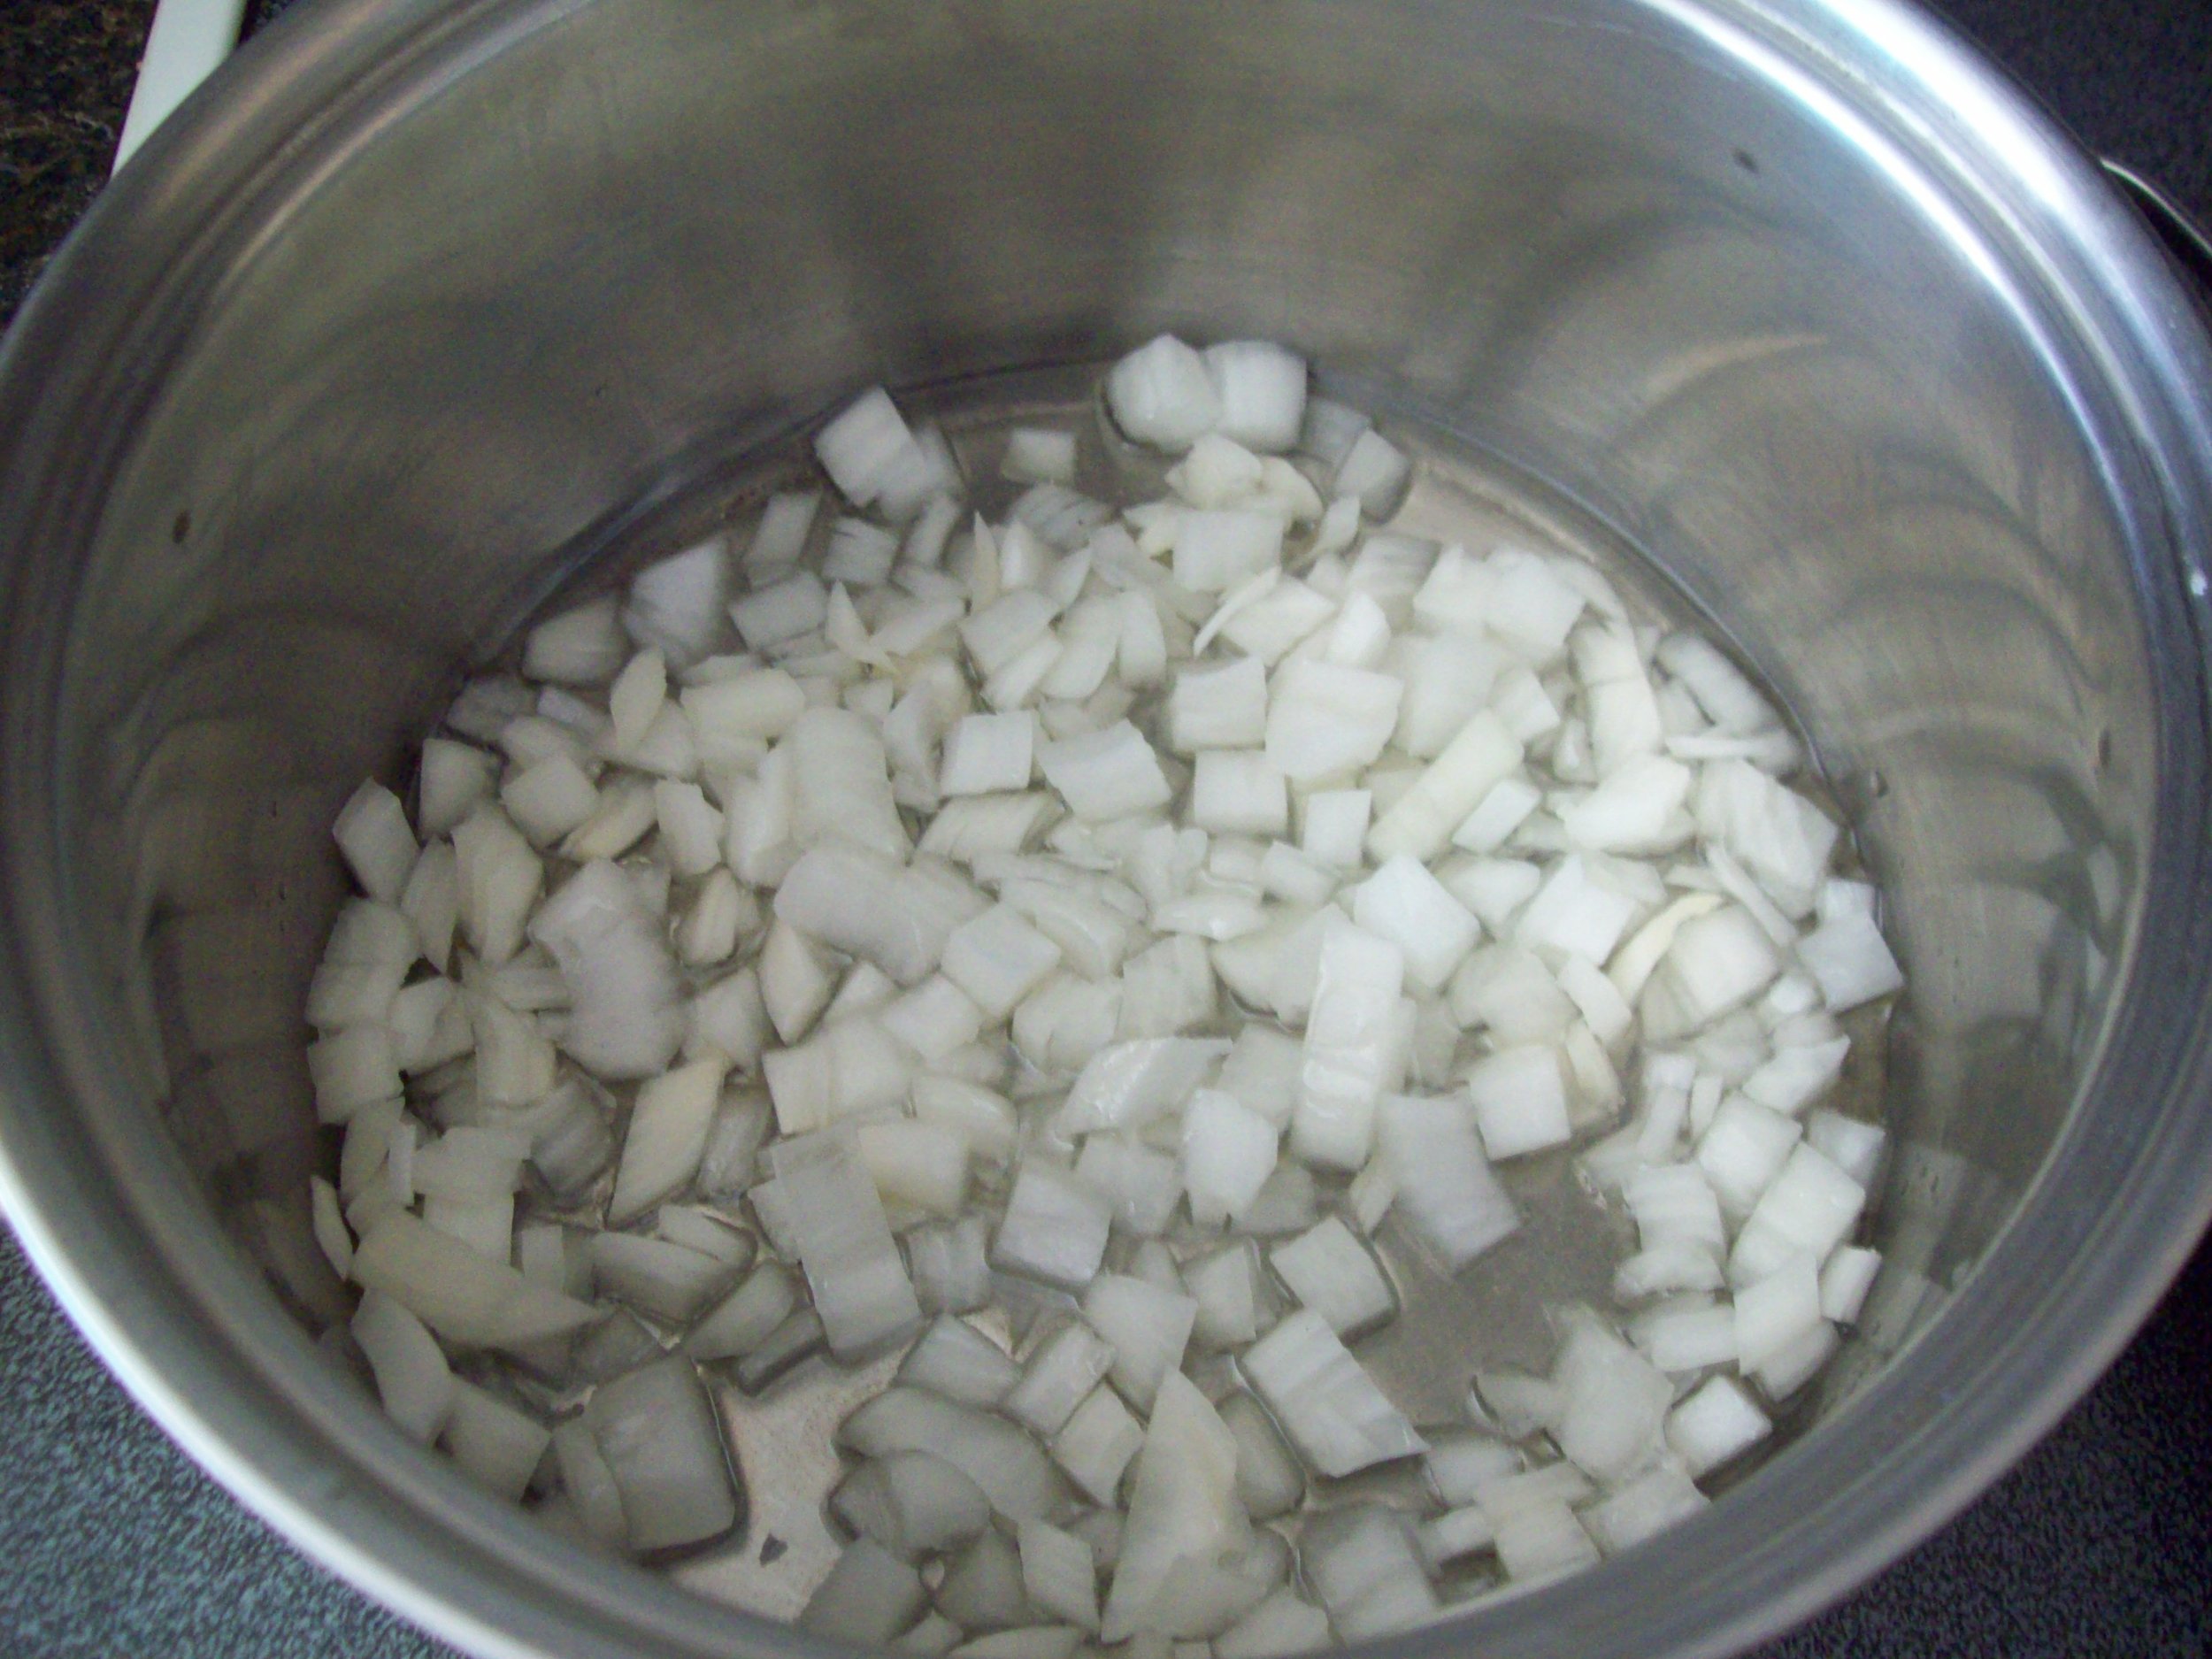
6 cups of chicken broth (each can = 2 cups), 2 cups of arborio rice, 1 onion, 4 cloves of garlic, olive oil, salt and pepper to taste, white grape juice, and grated Parmesan.
Shauna's recipe calls for white wine. I don't drink and I want to cook sans alcohol, so I researched it and found on so many cooking blogs that you can substitute white grape juice instead, which makes total sense! It worked great!
To begin making risotto, warm up the 6 cups of chicken broth and start chopping up the onion.I watched this video to learn how to properly chop an onion:
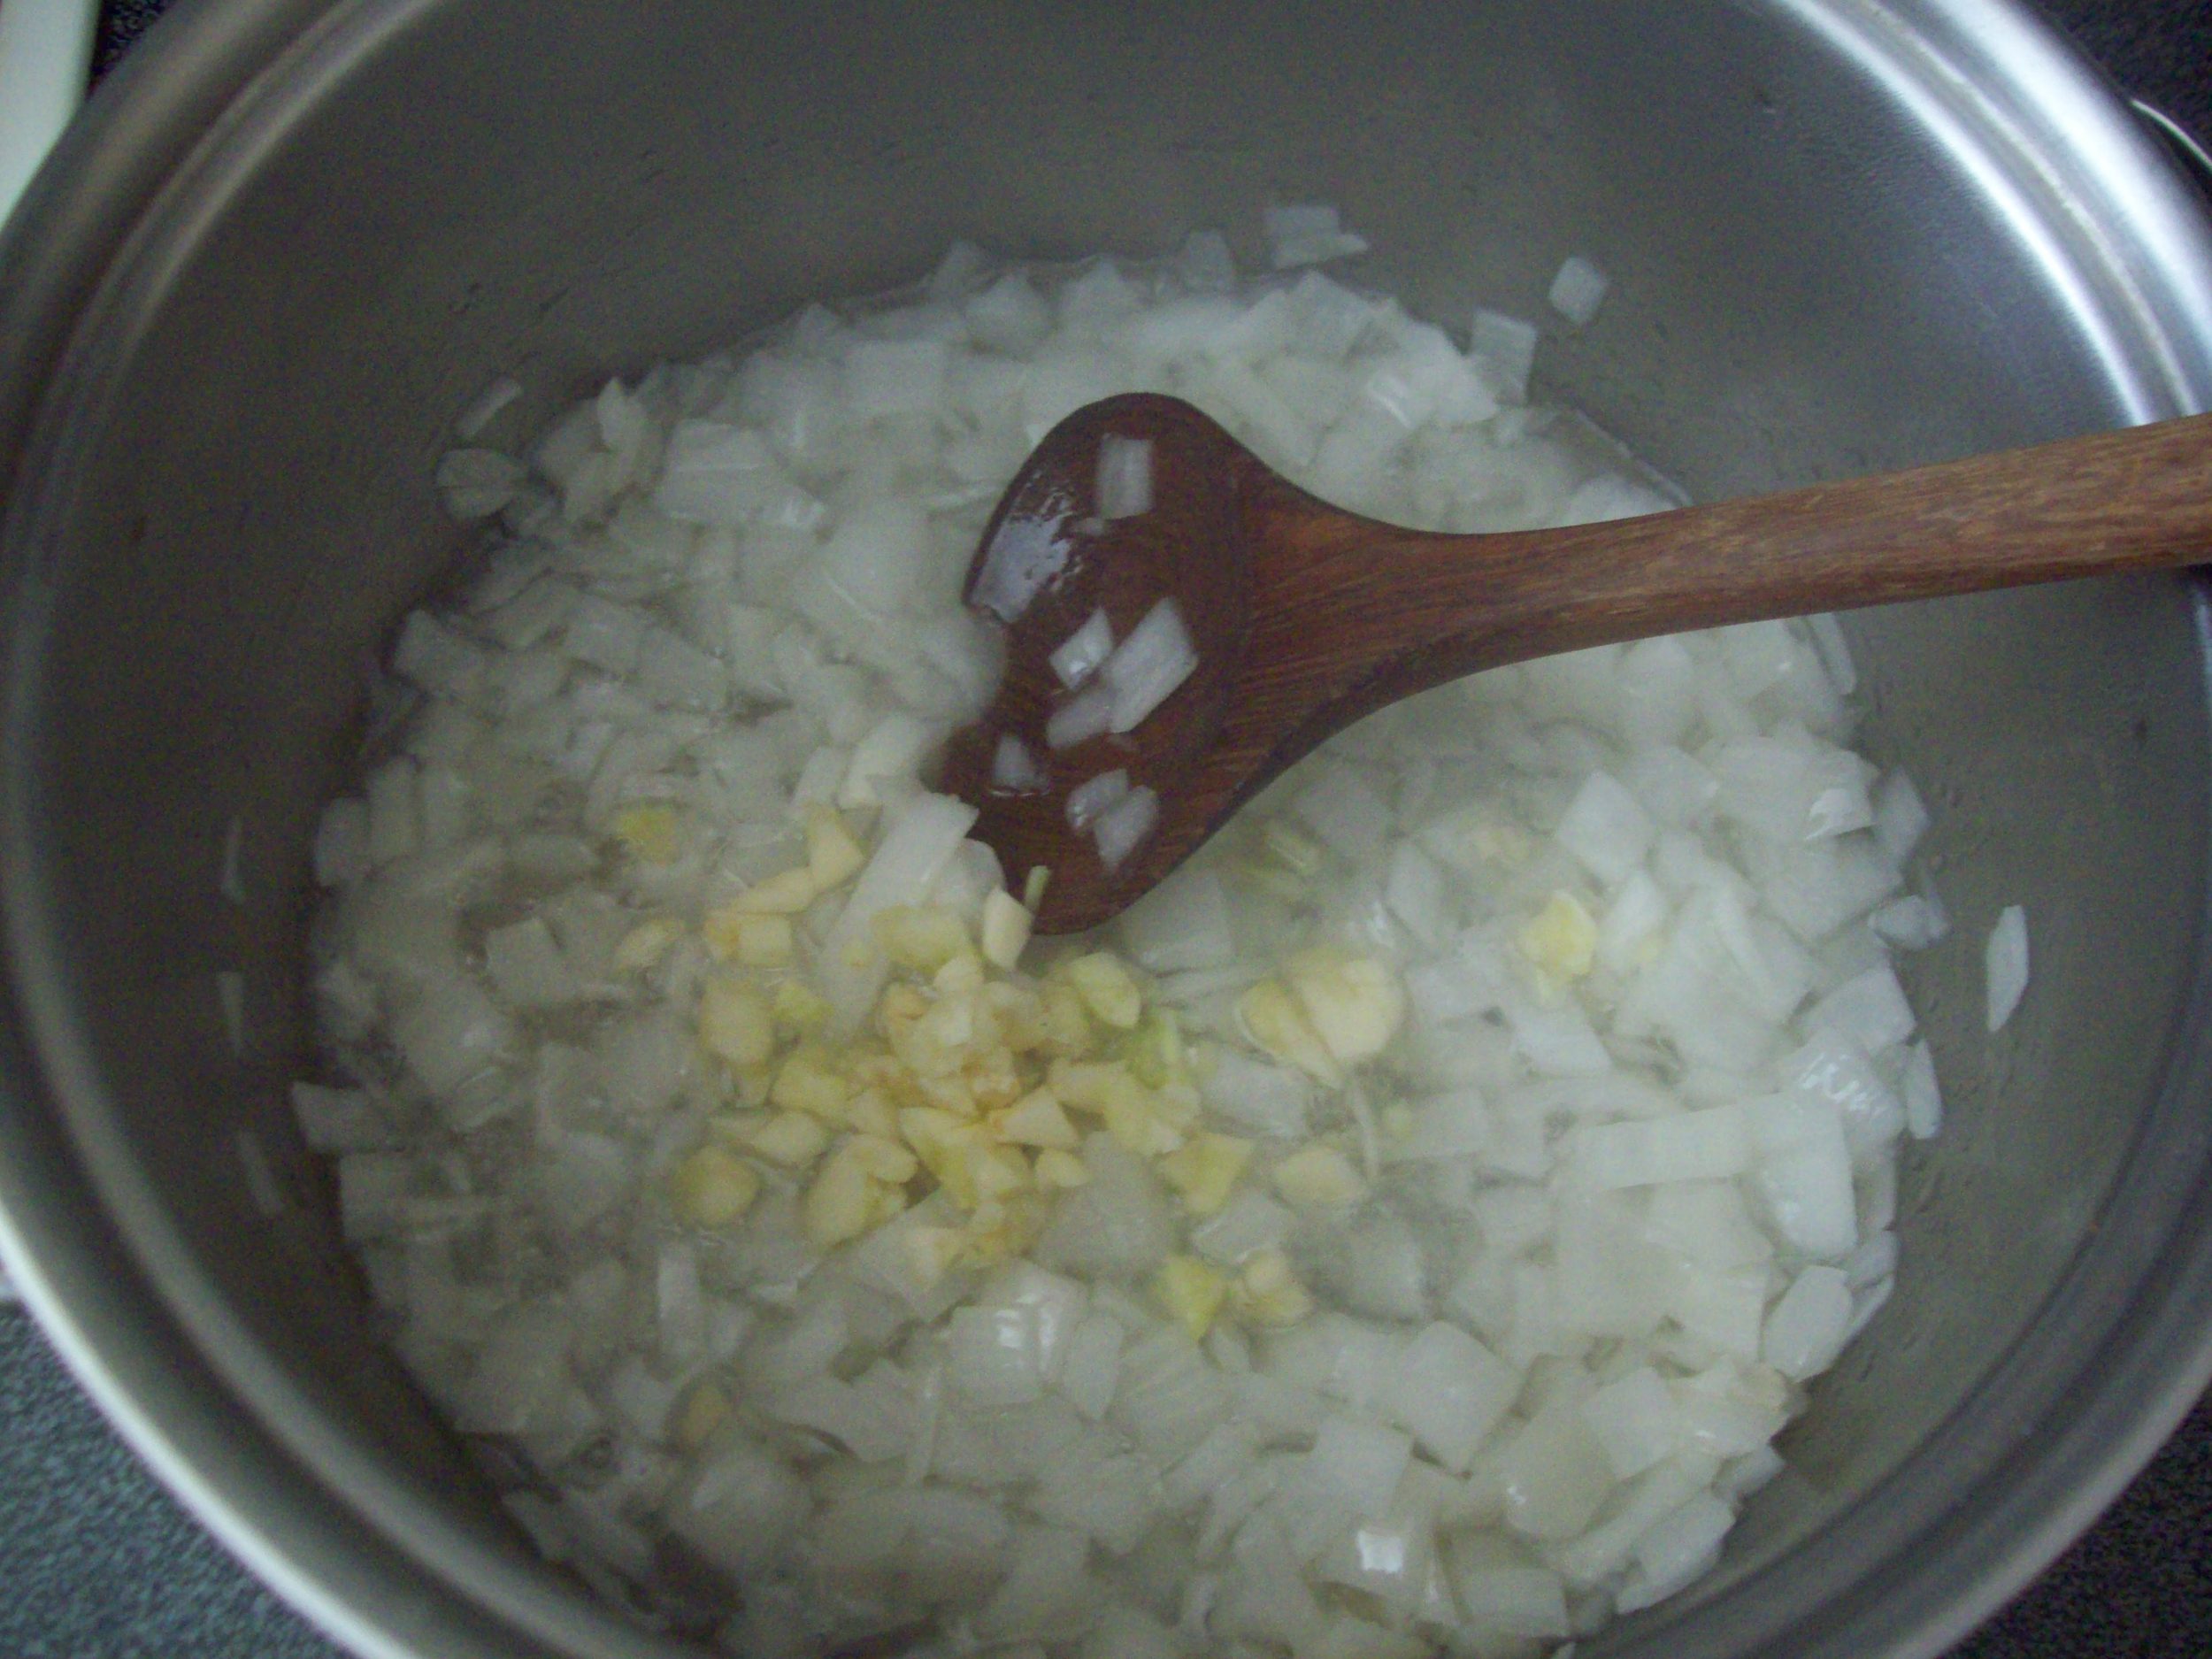
Cook the onion in the oil over medium to medium-low heat for five minutes, which gives you time to crush the four cloves of garlic. Google a video for how to crush garlic if you need to - I did. :)
Add the garlic to the pot and cook an additional three minutes so that the onions become translucent and your kitchen starts to fill up with the aroma of garlic and onions.
At that time, add the arborio rice to the pot and stir until completely coated.
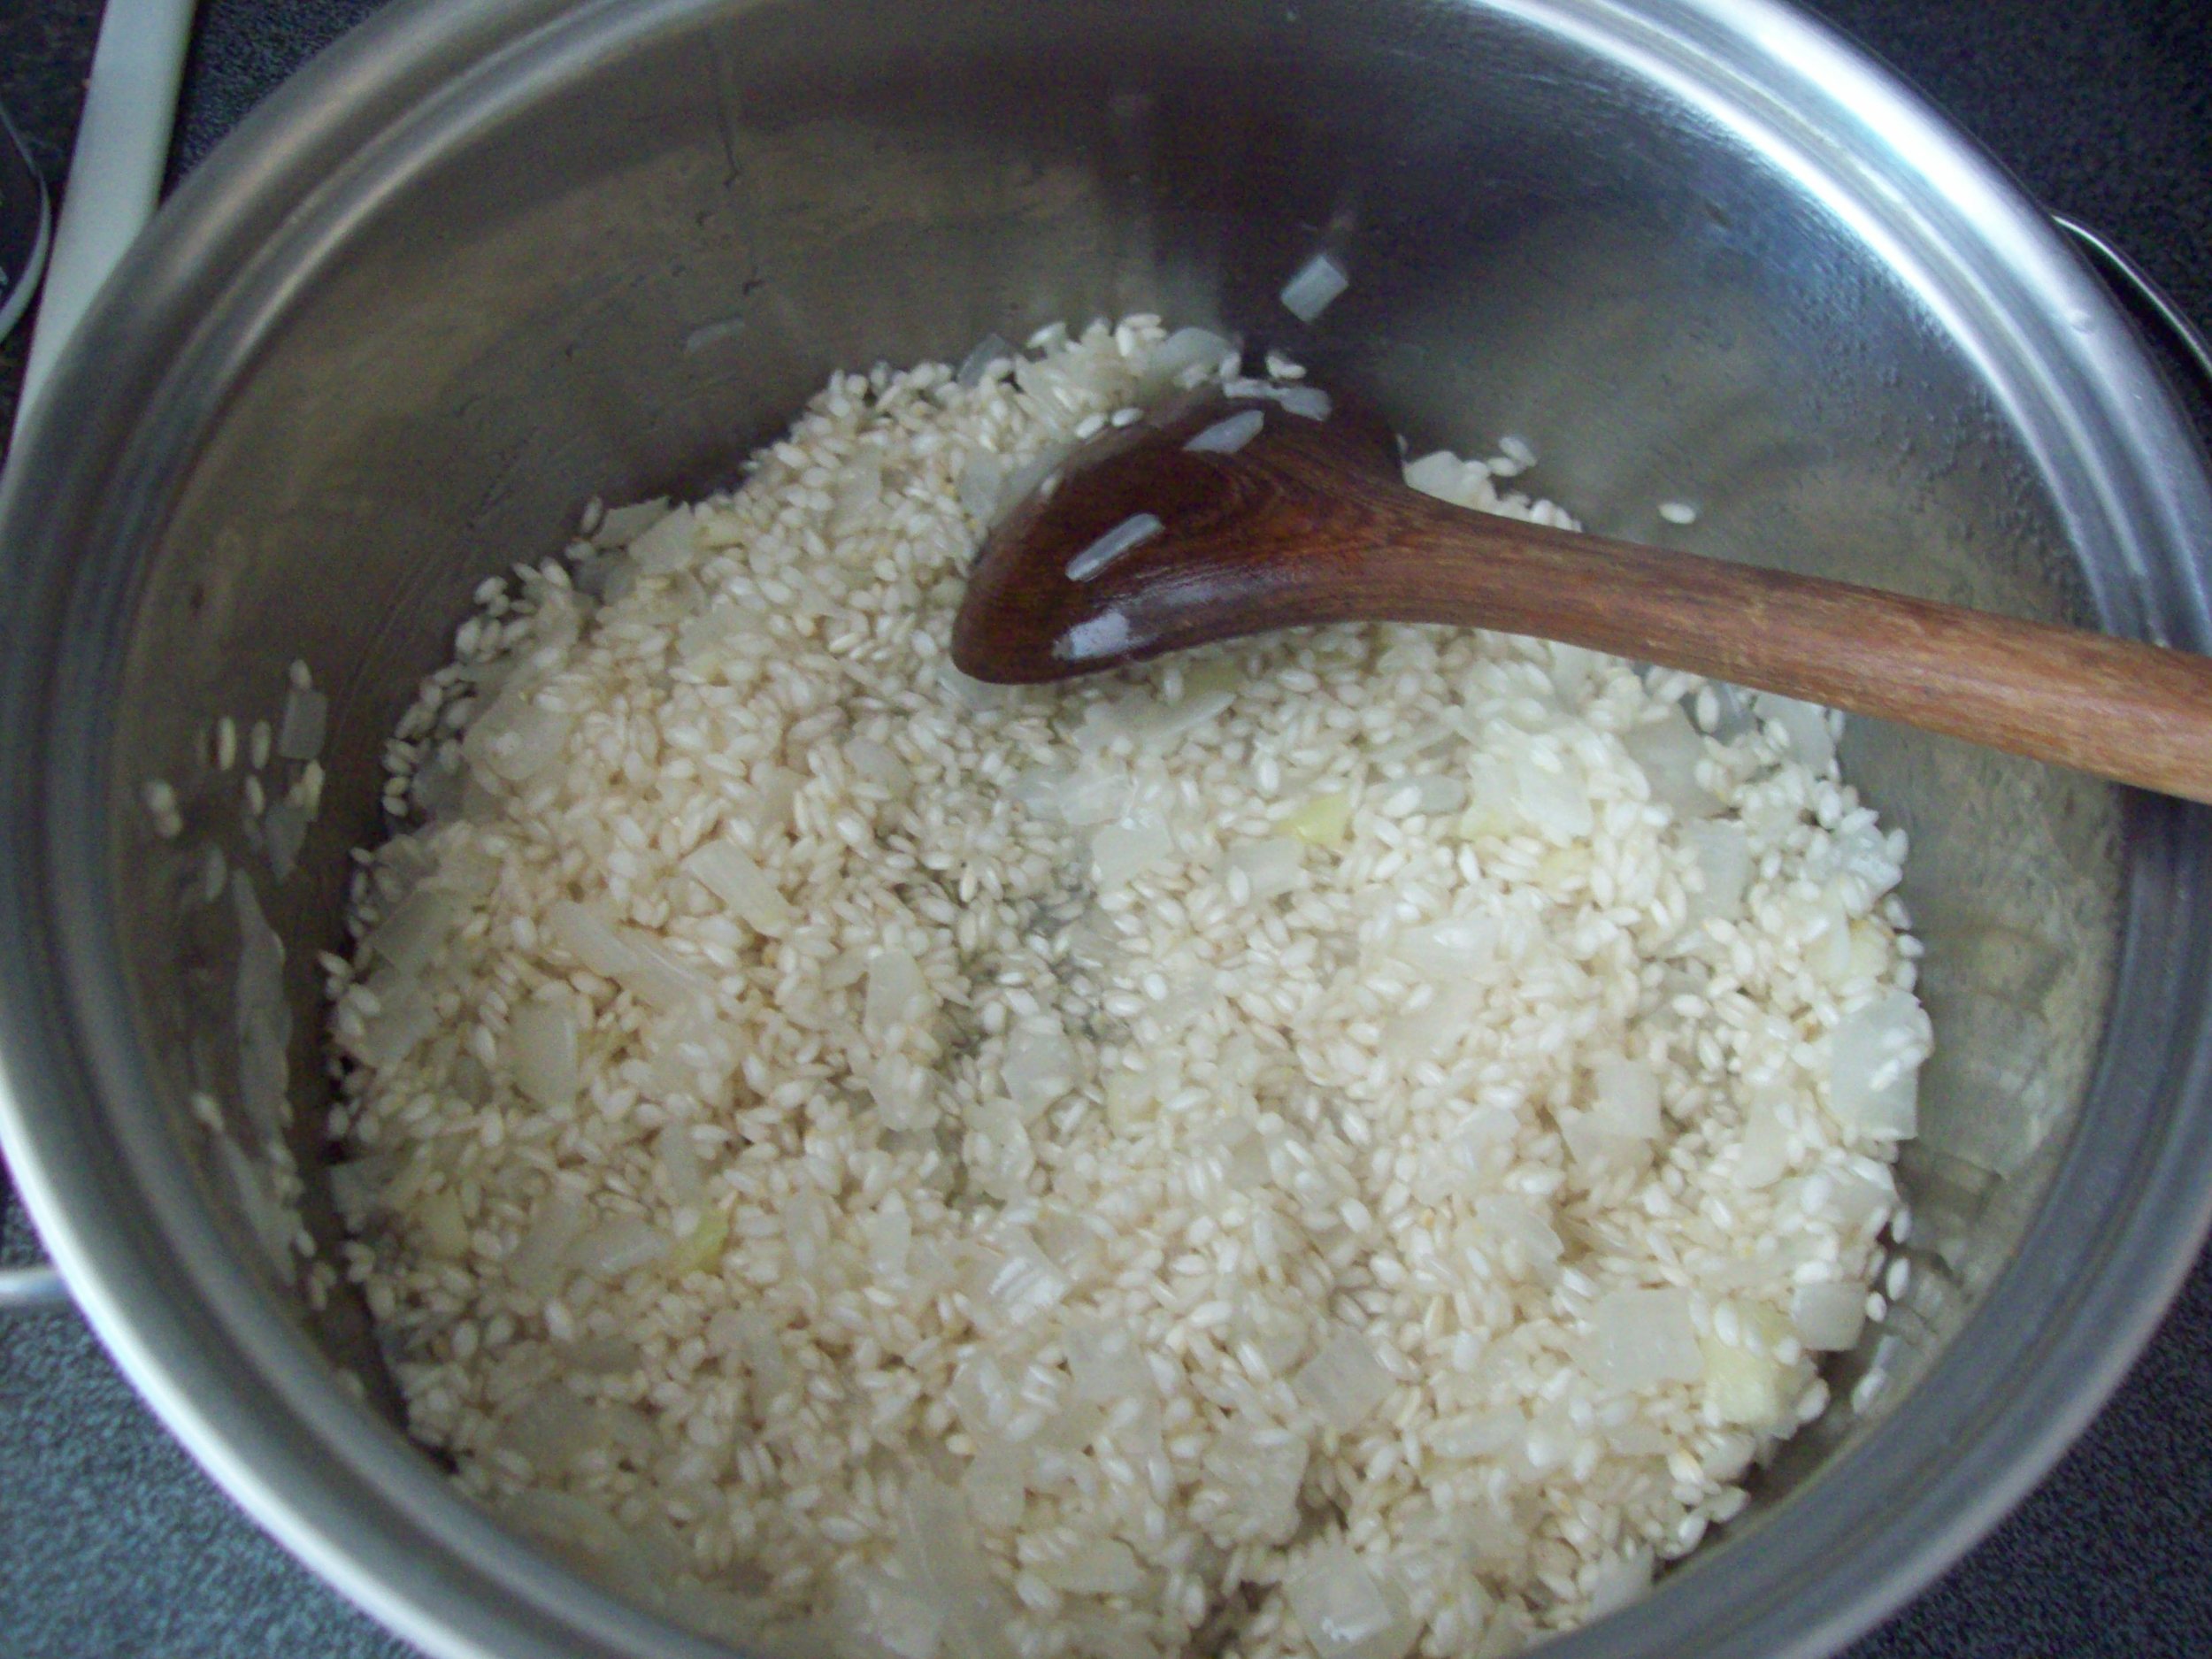
Next, pour in the white grape juice and allow it to absorb.
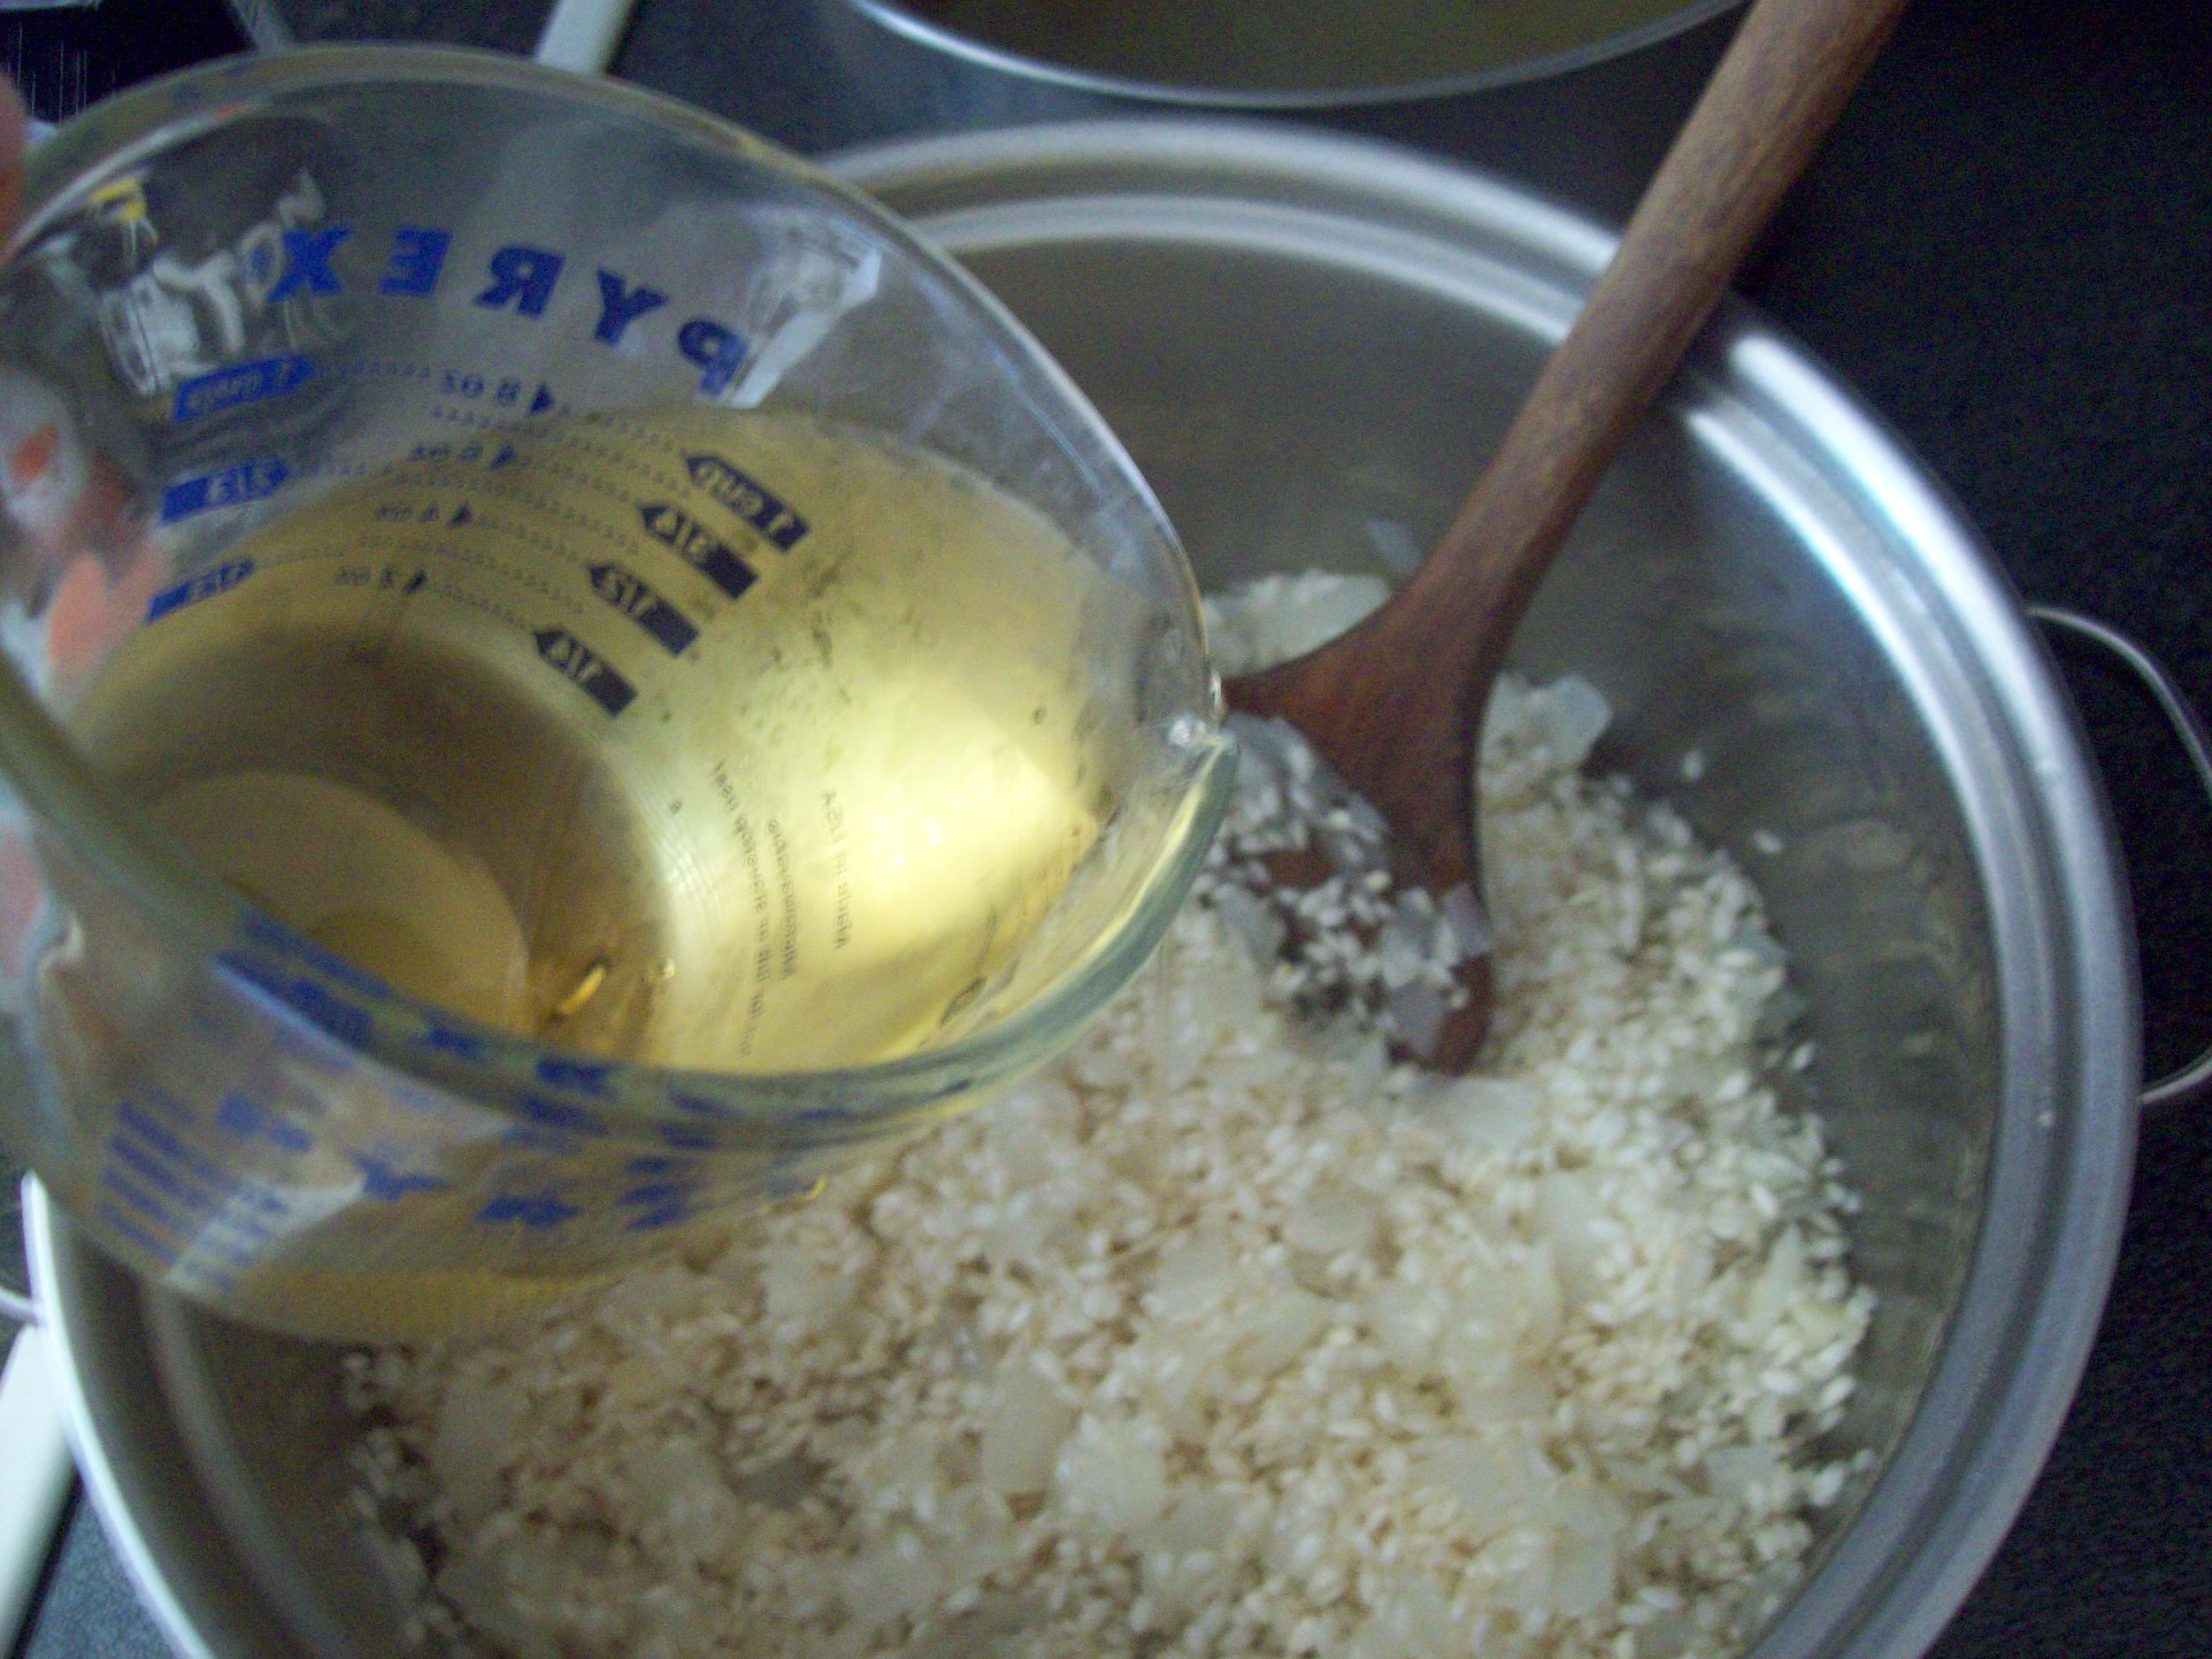
When it is fully absorbed, you'll begin the process of adding one cup of chicken broth at a time and stirring, letting that absorb and adding another after that. This usually takes 18 to 20 minutes to complete. I set the timer on my stove and began adding the chicken broth. Stirring is key. Stir, stir, stir, as Shauna says. Be sure to use a wooden spoon, too!
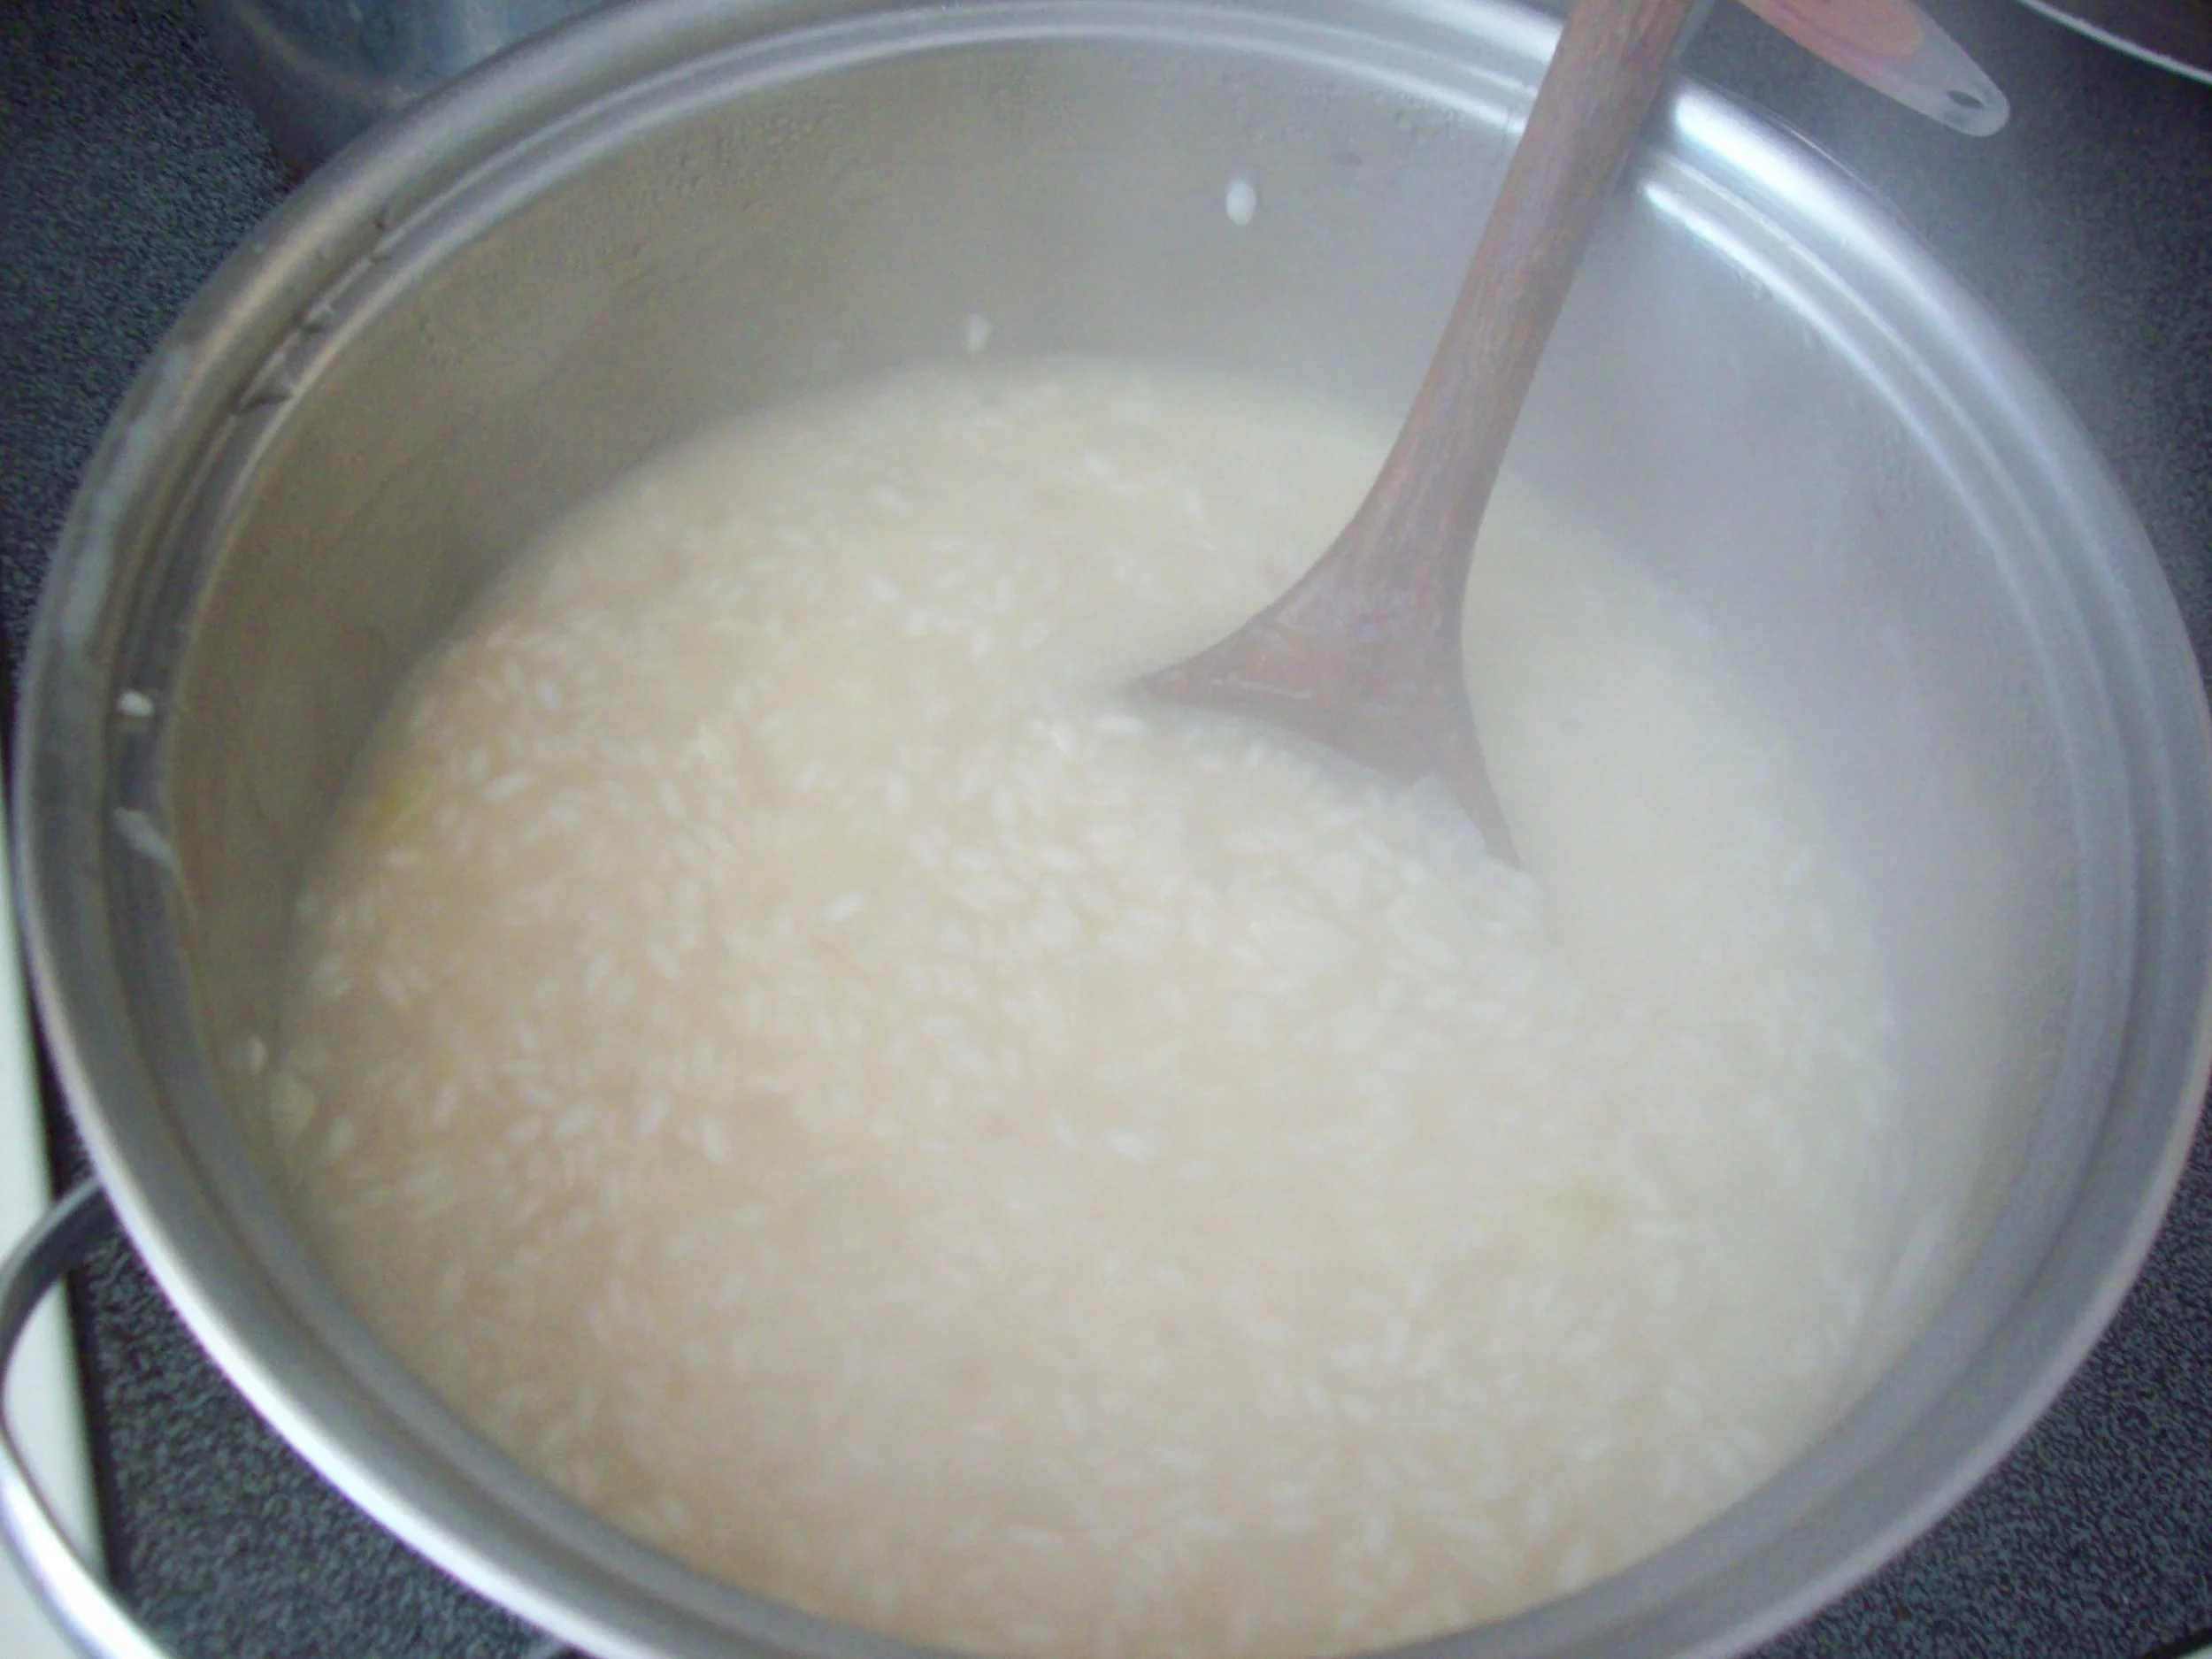
The key is to not let it dry out, but not drown either. Be patient and keep stirring! :) What you want to look for is steady cooking - in between boiling and simmering. There's probably a technical term for that; I'll have to ask a culinary student.
Once you finish, you'll have a pot full of yummy risotto that serves 6. It also keeps well and is great the next day for lunch!

Here is the finished product! Sprinkle grated Parmesan cheese on top, salt and pepper to taste. The salad is dressed with the balsamic vinaigrette we made earlier. A wonderful homemade meal!
Tomorrow, I'm planning on making Steak au Poivre (Pepper Steak), a traditional French dish, for dinner. I'll blog about that here soon!
Til next time, happy baking and cooking!